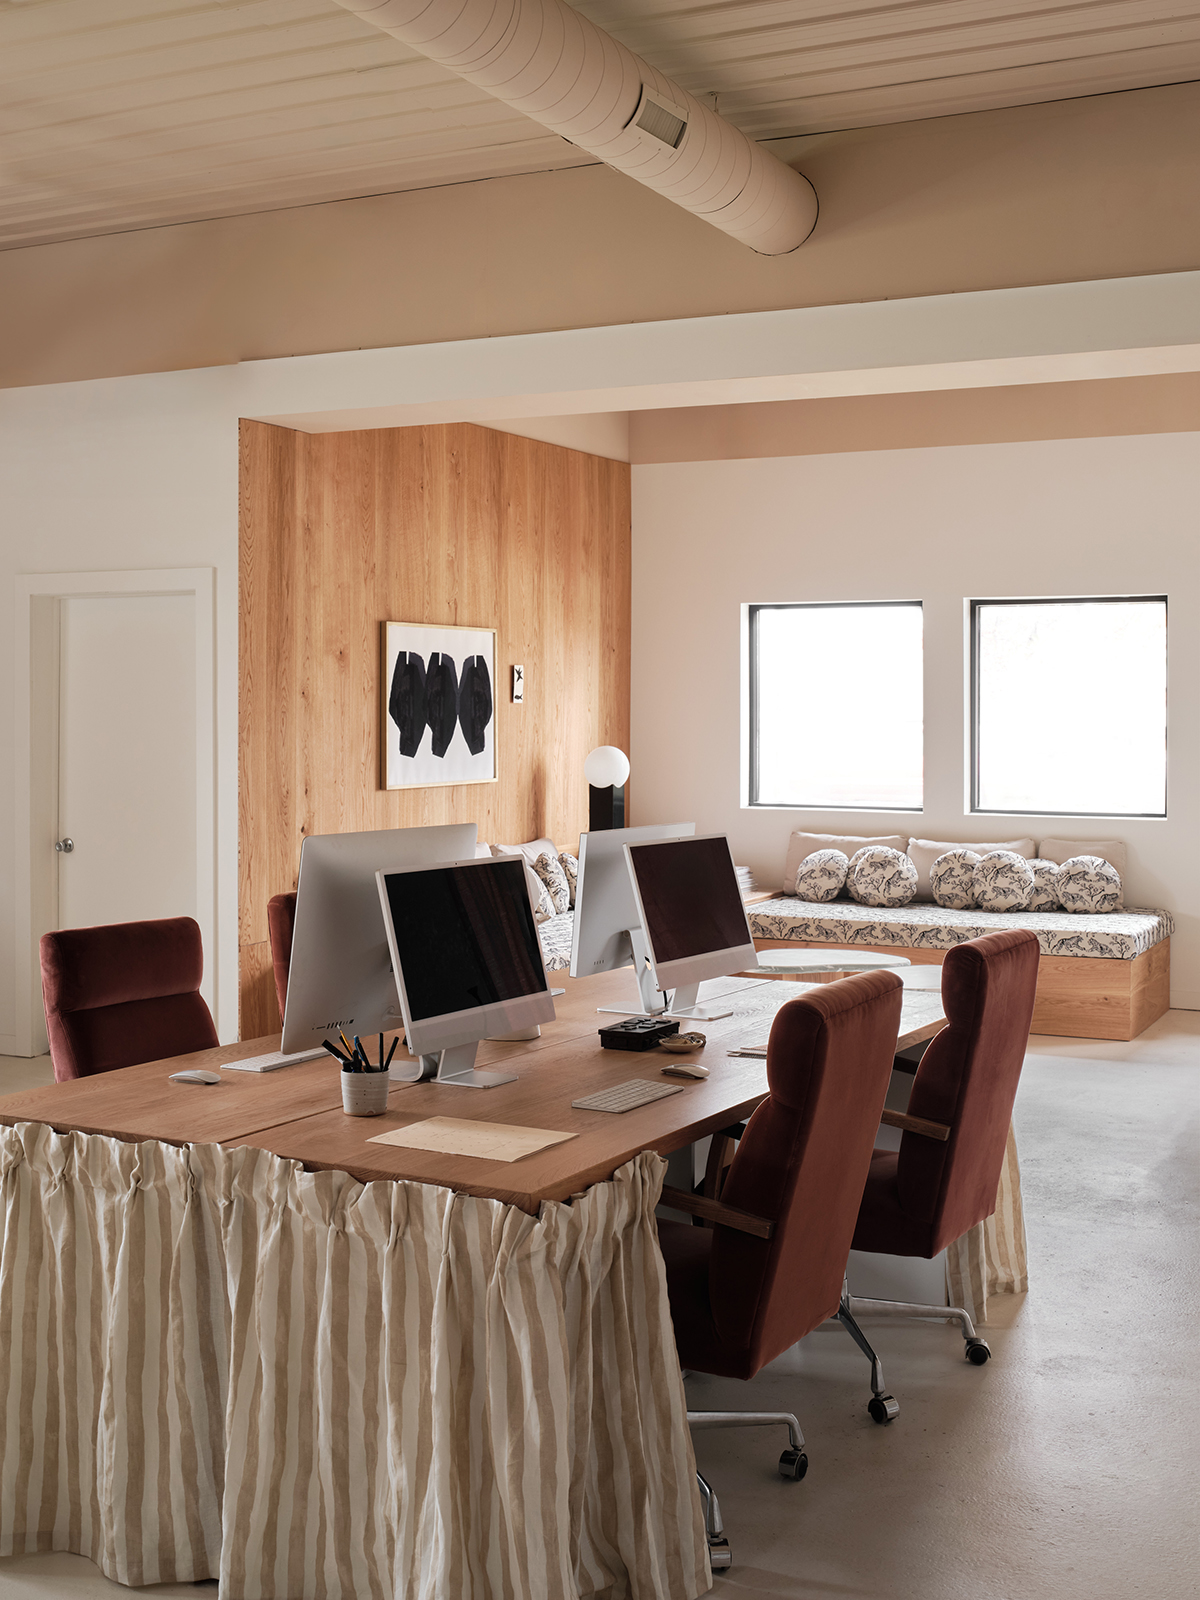

 While furniture hunting and shopping for the studio, I couldn’t quite find the right credenza to fit the space that didn’t come with an insane price tag so I looked to ikea, per usual, and started doodling in my notebook to design a piece using their “besta” cabinets as building blocks. I wanted there to be storage, be a certain length and height (tall enough to be a workbench height) and not look like straight out of the box ikea.
 As you might be able to tell, if you can decipher my chicken scratch, I came up with a couple different ideas, one with shelves on the sides but the open sides ended up being the winner. I then took my sketches to the computer and drew it out to scale to make sure I was happy with the proportions etc. Once I got it exactly how I wanted it, I took my plans to the lumber store, selected 2 pieces of high quality birch plywood (4′ x 8′) and had the on-site milling cut it down to the sizes I specified below.
 Once I got everything back at the house, I assembled the Ikea cabinets and measured out where I needed to use the router to create channels for stability, I did this at every joint where the vertical boards intersect with the horizontal boards (As shown in the image below, highlighted in blue). Also, you will see that I assembled and built it upside down and then flipped it over once it was finished.

 I used a scrap piece of plywood and clamped it down to the board to use as a jig while using the router and lied the top and bottom board down next to each other so I could easily make sure the lines would match up exactly.
I used a 3/4″ bit and sunk it down about 1/4″.
Once I created all the grooves it was time for assembly.
 I used wood glue in every joint and then secured everything with screws. A LOT of screws. I used long cabinet screws where the horizontal boards capped off the vertical board so it would sink deep into the vertical (while still remaining hidden). OH and make sure to use a drill bit to pilot the hole before screwing in to make sure the boards didn’t split. I used shorter screws when attaching it to the base of the besta cabinets so they wouldn’t show through on the inside.
For the legs I notched a 3″ groove (using the router again) into the side of each of the legs and glued and screwed in the 3″ x 60″ support piece. This piece is crucial for stability but also is nice and hidden giving the illusion once it is standing that the credenza is balancing on just the thin boards as legs.
 And finally, I flipped it over, finished it with a clear coat and called it done! I am super happy with how it turned out. Hello beautiful modern credenza/workbench.
Taking on projects like these can look intimidating but coming up with the idea is 90% of it and the other 10% is just knowing how to use the tools (o.k. and there’s a lot of math in there too). There is a new app called DIYZ that recently came out which is full of information and guidance to help you tackle DIY home improvement projects with more confidence and I found some great tutorials on tools. Pictured on my i-Phone above, you can see an entire dedicated story with step-by-step instructions on how to use a drill. Which if you don’t happen to have a wood working dad that taught you a big bag of tricks, you could probably benefit from. The app also has full projects outlined with how-to videos and it also includes a handy tool & material list where you can choose exactly what you need, with links to order it online and have it delivered right to you (the amazon prime fanatic in me LOVED that). You can download the app on iTunes here or on Google+. Happy DIY-ing.
Supplies and Materials list:
2 4’x8′ sheets of 3/4″ high quality birch plywood
Wood Glue
Drill
Screws
Router
Clamps
Measuring Tape
Pencil
Table Saw (or have the main cuts done where you buy the plywood like I did)
3 Besta Cabinets (in high gloss white)
This post was done in collaboration with DIYZ. All thoughts and ideas are my own.

This looks so great! And looking around my living room right now, I actually have 3 Bestå cabinets in high gloss white that I use as my tv stand! So I might just steal this idea completely! It won’t be until well into the new year, though. I’m not really handy, but being Norwegian, I have assembled my fair share of Ikea furniture and I love it, and I’m not afraid of trying. Thanks so so much for sharing this, Sarah!
You’re so freaking talented!
Beautiful Project, and great to see a subtle and original IKEA hack. That said, so wish you’d shared about the app sponsorship/plug/collaboration/marketing at the top of the post, so your fans and community can make an informed choice about whether to keep reading; it seemed kind of tricky when you just kind of mentioned the app 80% of the way through, and then confirmed the “collaboration” in the very last sentence. That last sentence should be the first, in one reader’s opinion. Thanks for thinking it over for next time.
Good work. Keep it up!
[…] guys loved it as well! A couple other DIY faves were the HEADBOARD I made in the A-frame and the CREDENZA I made in our […]
Super creative transformation! Also, I love your ceiling light, where is that from?
Thanks! It’s the Sonoma from Park Studio. Feel free to check out this post for more products in the studio!
How do you open the doors? Is it the kind you push and they pop open? Can you buy that part at IKEA? Thanks!!
Wow, this is amazing! My husband and I are going to try and attempt this. I was wondering how you attached the top besides wood glue? Did you screw through the top of the cabinet since you knew you wouldn’t see it?