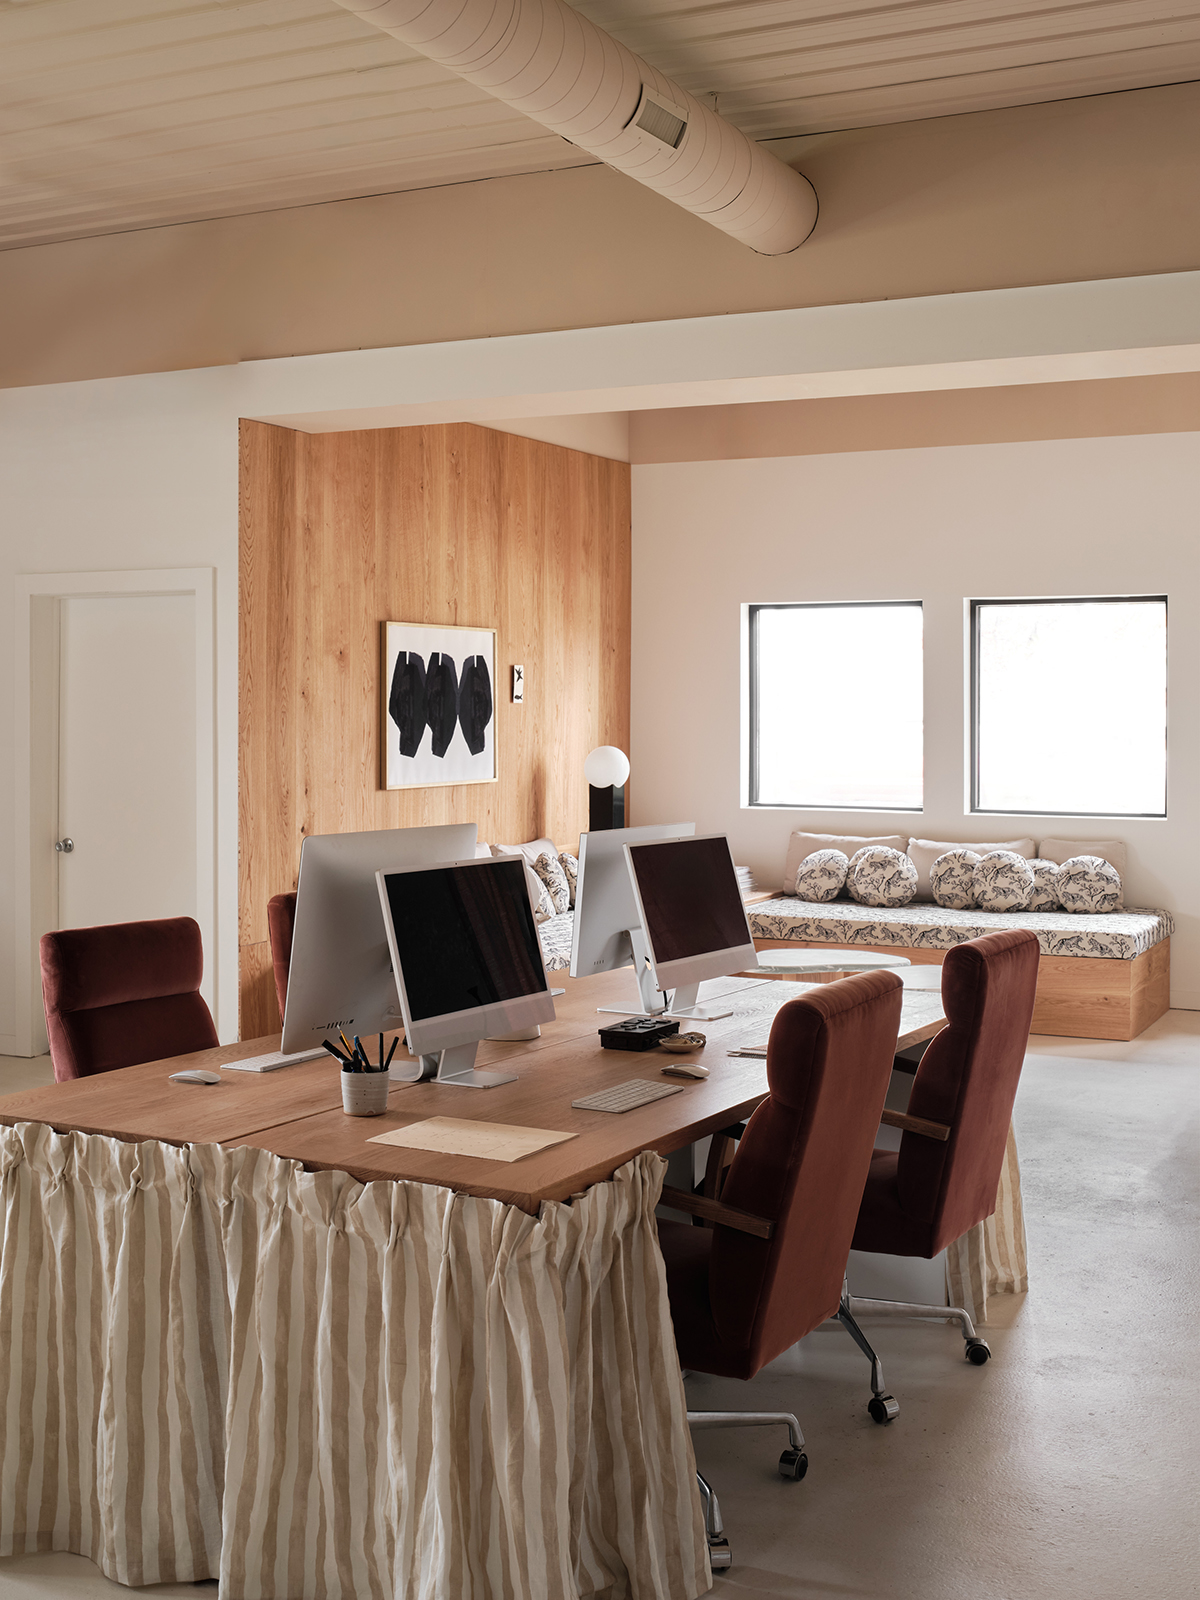
After seeing a few Ikea Hack makeovers here and there I decided it was time I tackle my own. There are a couple of great other examples Here and Here. I have been looking for the perfect bed side tables for a while now and haven’t been able to find anything, so when I saw this post on design sponge I figured why not give it a try. Here is my before and after.
 And here is what I did:
- First, I bought two Rast three drawer chests from IKEA (one for each side of the bed).
- I assembled all of the pieces but left the drawers to the side (also, don’t put the drawer pulls on yet).
- Then primed the fronts of the doors and then painted them in a high gloss white.
- I then prepped the body of the nightstand by sanding it lightly with a fine grade of sand paper and then rubbing it down with a clean dry cloth to get all the dust off.
- From there I started staining! I did 1 coat, let it dry 5 – 10 minutes and then rubbed off any excess stain that didn’t soak in. I then waited an hour and did another coat, following the same process. Then waited another hour and did one more coat. The longer you let the stain soak in and the more coats you do the darker it gets. I used Minwax stain in Dark Walnut.
- After the final coat of stain I let the pieces dry for over 24 hours.
- When the pieces were fully dry, I gave them two coats of varnish (letting the varnish dry between coats).
- I then screwed in my drawer pulls. I bought mine from anthropologie.
- Finally, I put the drawers in and voila! Two beautiful nightstands for basically peanuts.

Branding and Initial Web Design
Nature
Web Design Production
Jane Reaction
Site Development
Alchemy + Aim

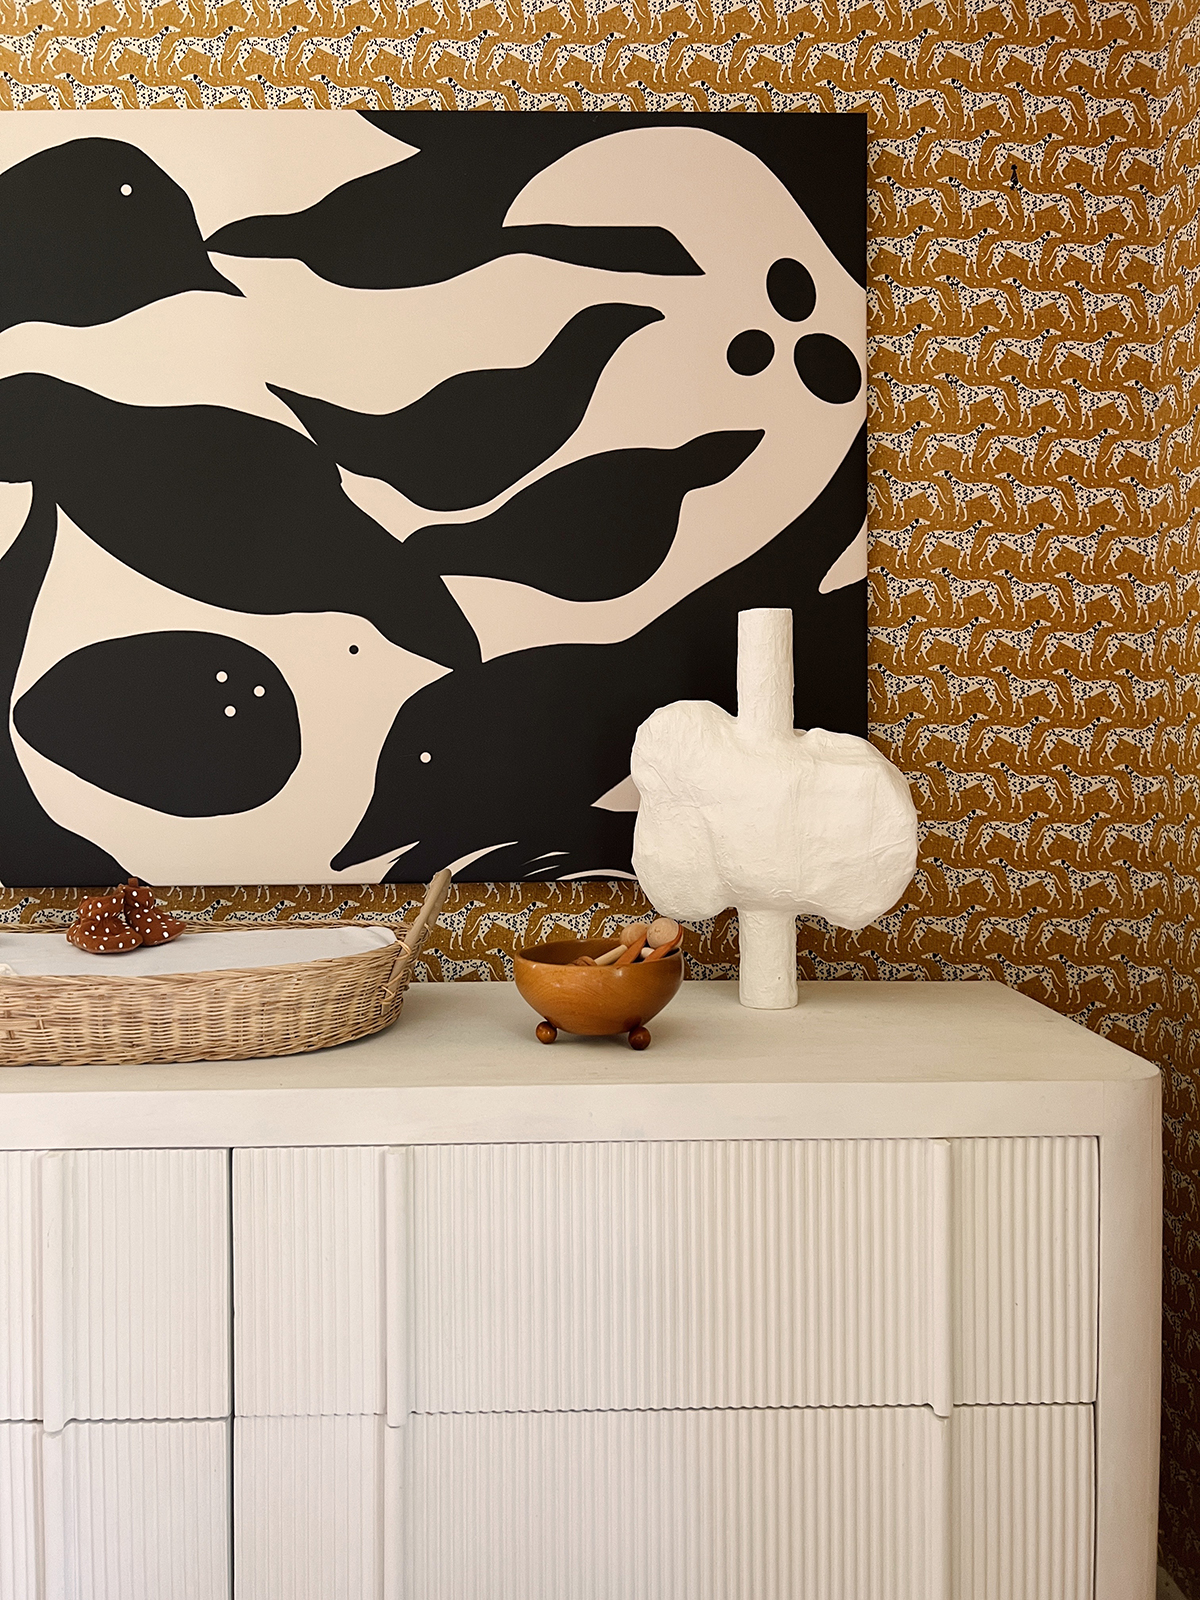
[…] white ikea malm dresser / 2. Lacquer & Linen’s campaign style Hermes dresser / 3. Smitten Studio’s mid-century modern Rast nightstands / 4. The Small Thing’s stenciled malm dresser / 5. […]
[…] Full tutorial: http://www.smittenstudioonline.com […]