
It’s been a minute since we checked in on the show house, almost a year since we bought the property! If you want the background on it, you can read this post here, but in short, we purchased this property to build a house that I could design from the ground up. And then fill it with all my designs: rugs, furniture, and vintage finds. It was also essential to use all of my go-to vendors and brands to showcase what I could do and what I would dream of as my ideal home.
The design of the house itself was a quick process. I had a very distinct layout and sketch with a clear idea of the floor plan from the get-go. I teamed up with fort architecture, and they made it all go incredibly smoothly, drawing up all my plans and getting it to be an actual buildable house. And we had a lot of fun collaborating along the way. They completely embraced my vision once we got to the interiors.
Of course, I had to incorporate as much natural beauty as I could fit into the house, within our budget, stone from Aria Stone Gallery and terra-cotta tiles from Zia tile. Working with that material pallet, I started creating a color palette for the whole home. For example, I looked for fireplace tile with the perfect shade of green that matches the green marble for the powder bath.

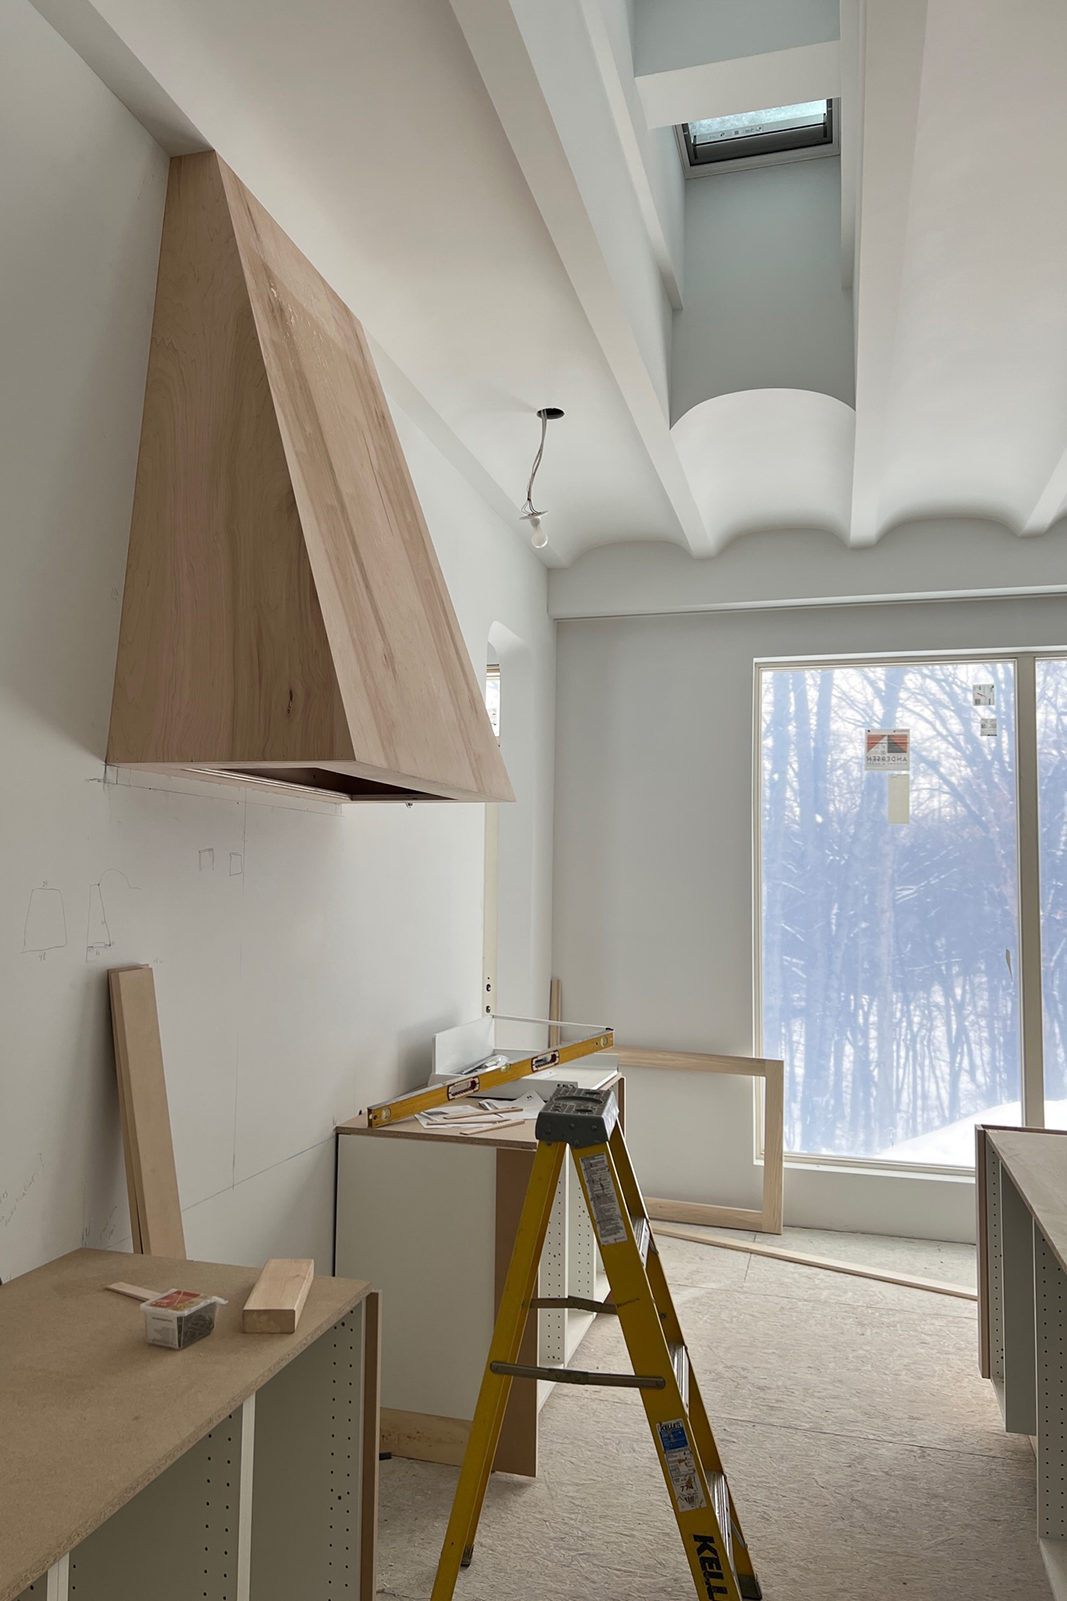
Delta Faucet is a brand I often work with on my interiors. They came out with this new wheel handle that felt perfectly aligned with the design of the house; a little bit of modern, a little bit of traditional, and just a little bit of cool detailing. I knew I wanted to have integrated refrigerators, freezer, and dishwasher in the kitchen for that streamlined high-end look since the kitchen is very much a part of the dining room.
In the living room, since it’s all in the same room, I wanted it to be as clean and elegant as possible. So I turned to Monogram Professional Appliances. They have this beautiful integrated fridge and freezer collection that are counter depth, as well as stainless steel dishwashers with beautiful gold detailing and minimal design.
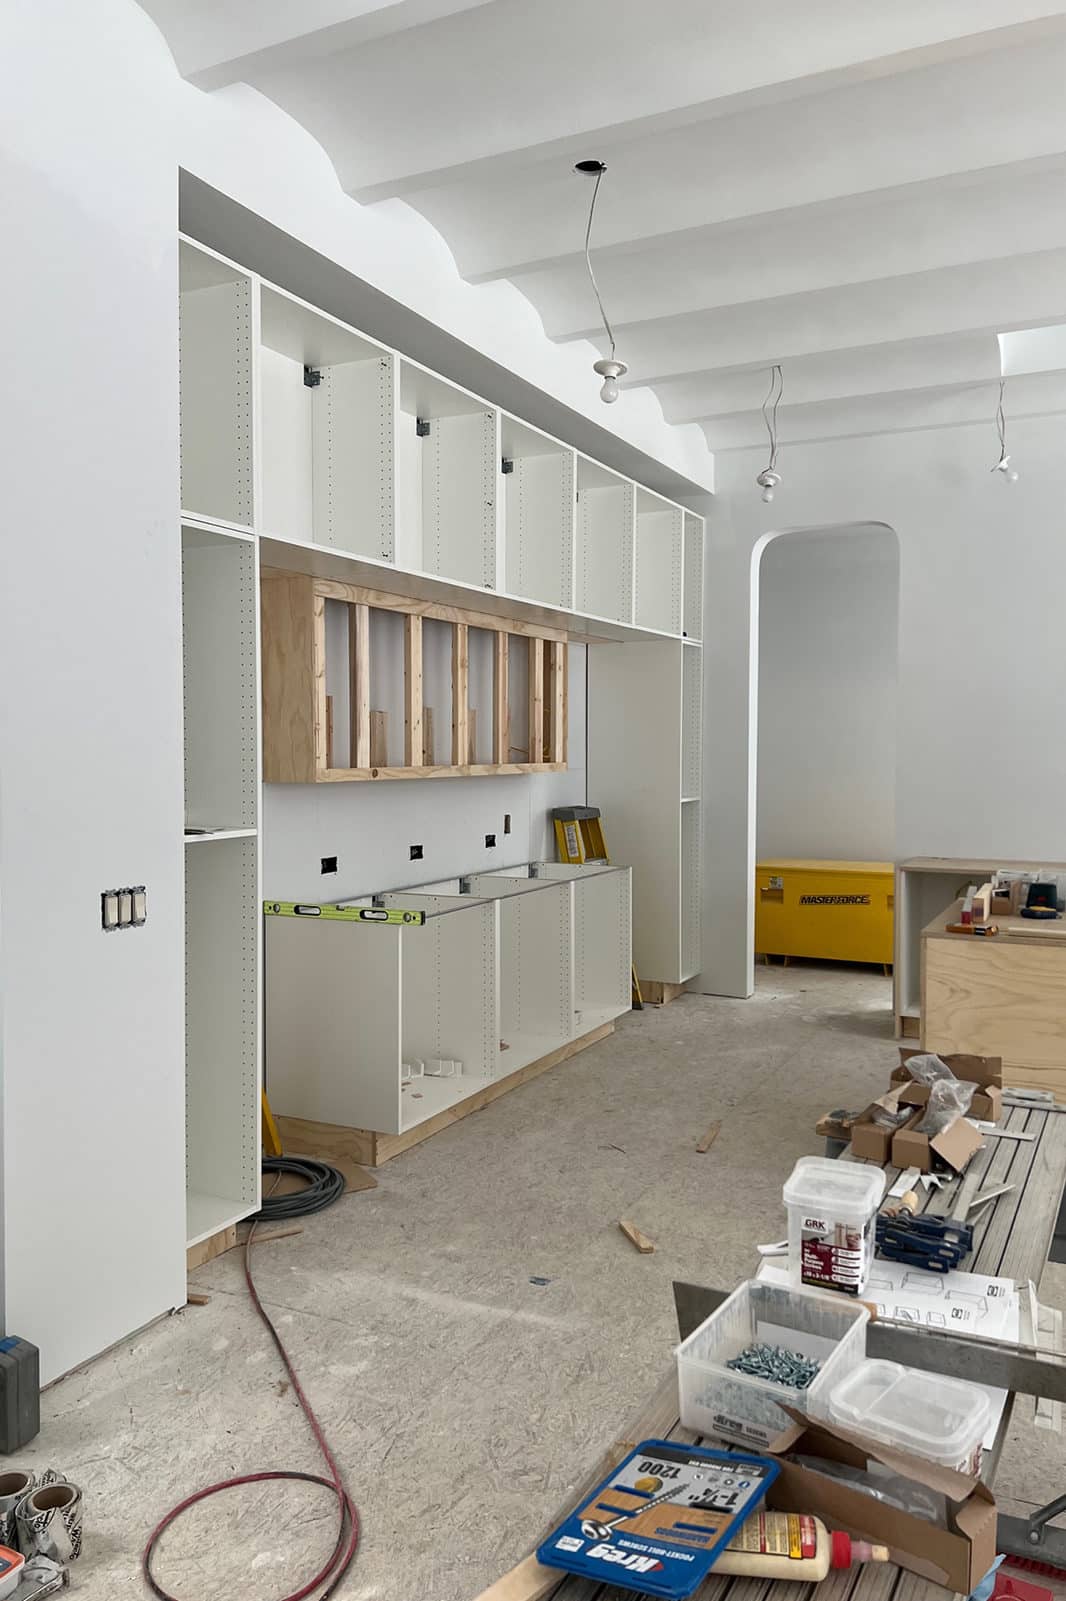
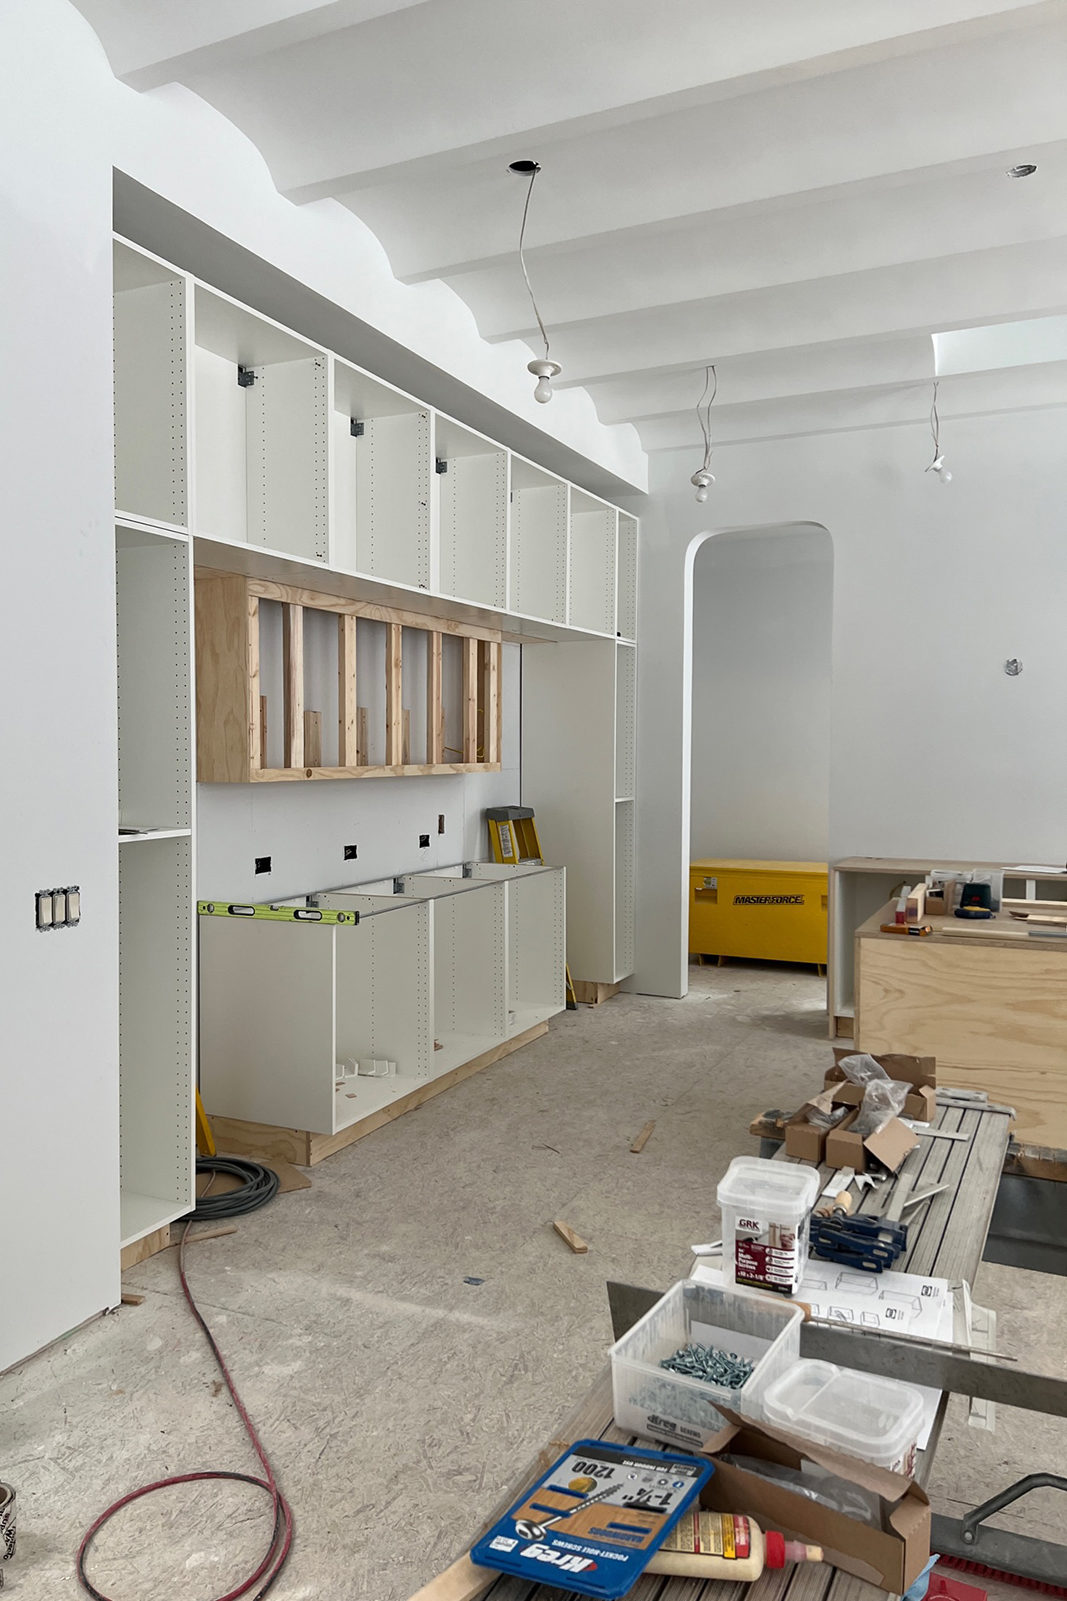
We built out a whole wall of cabinetry with IKEA cabinets paired with my Semihandmade DIY Quarterline fronts. This was the first time I could use the DIY version of the Quarterline, which means they’re paintable. Since they are a paintable finish, you can pick any paint color, including the wall paint color, so it can blend seamlessly. For the cabinetry, we painted ivory to blend right in with the walls. But for the cabinets behind the range and then the island, I wanted to have a more saturated jewel tone and ground the ample open space.
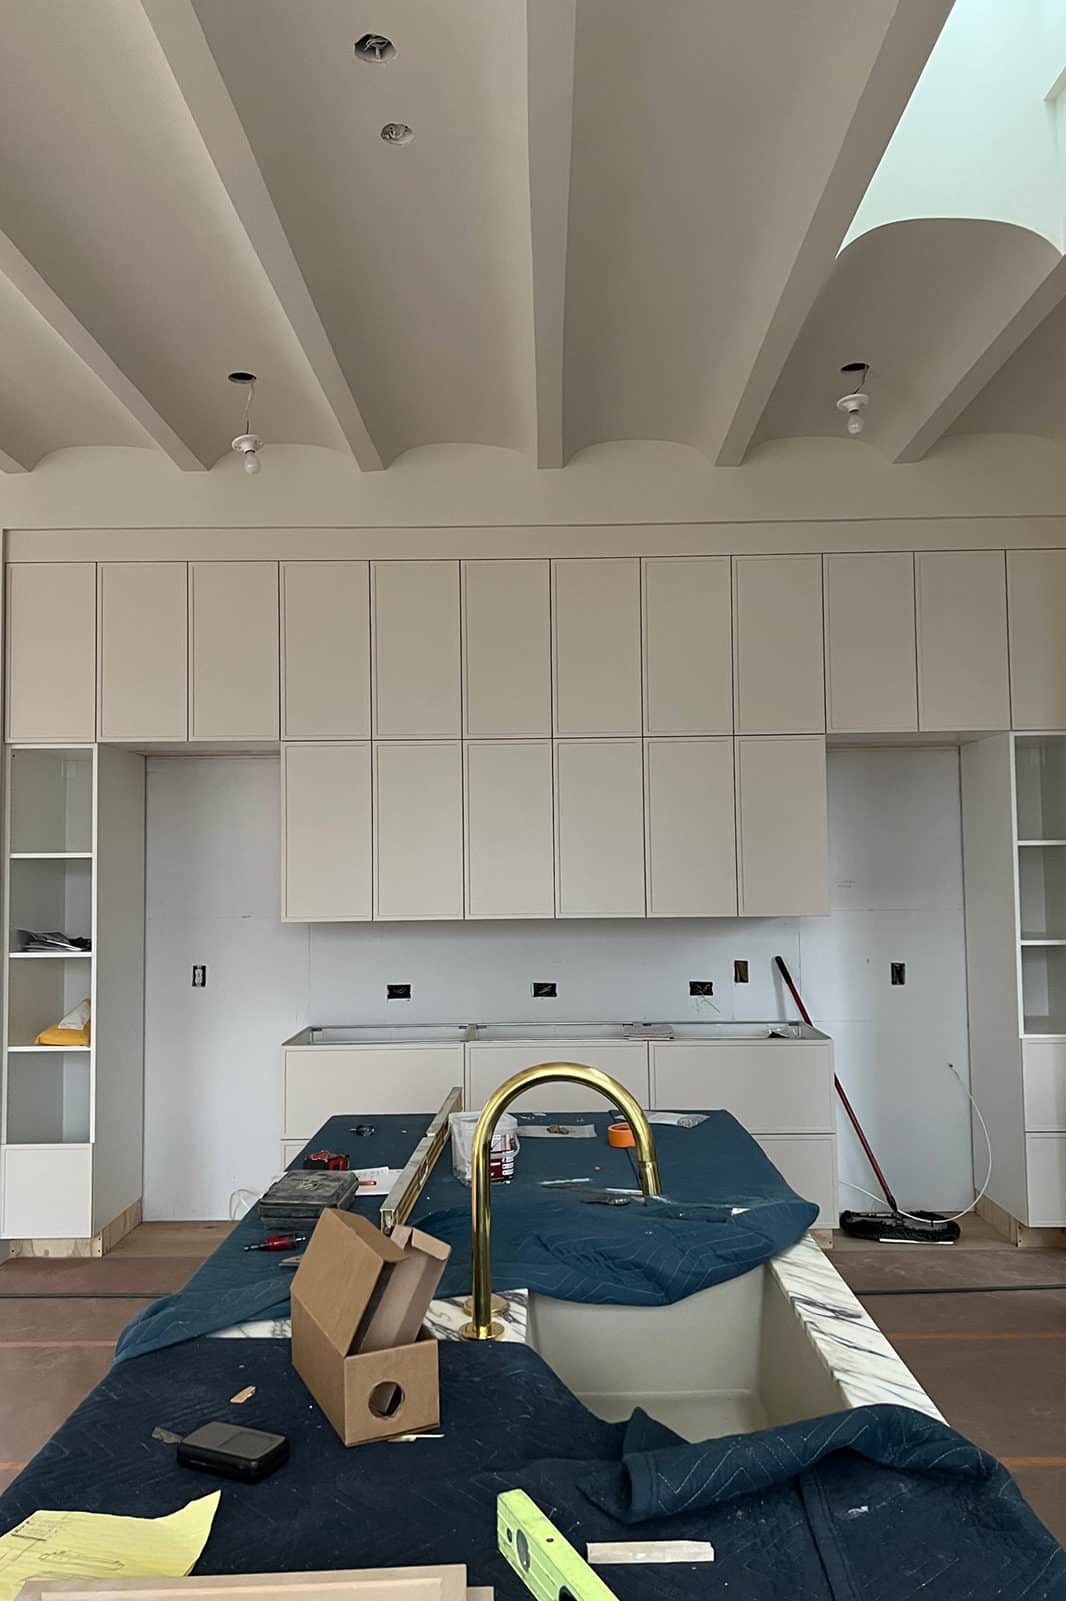
For anyone that’s new around here and wants to hear more about Semihandmade, I will link back to here from our very first home kitchen renovation; we were both new baby companies.
But to give you the rundown, I have two storefront designs. The Modern Beaded was the first one we came out with, and then the Quarterline, which is the second one we came out with. These panels and door fronts, and drawer fronts are made to fit onto IKEA kitchen cabinet boxes. They give you a fully custom option that is much easier on the budget. Going with an IKEA for Semi-Handmade kitchen, I only cut down on the cost of materials. Still, if you’re handy at all or can follow simple directions, you can save on labor by putting together all the cabinet boxes yourself. If you are not so handy, you can get a professional to install the cabinetry, which is what we did in this kitchen.
We’ve also done it, of course, multiple times, building and installing ourselves. Which I do think is very doable for anyone. People are often intimidated by kitchen renovations, but it’s like putting IKEA furniture. It’s a moderate DIY project: it’s just at a larger scale than most. Then you can get professionals to come and do the plumbing, countertops, tiling, and whatever else you feel you need to do yourself.
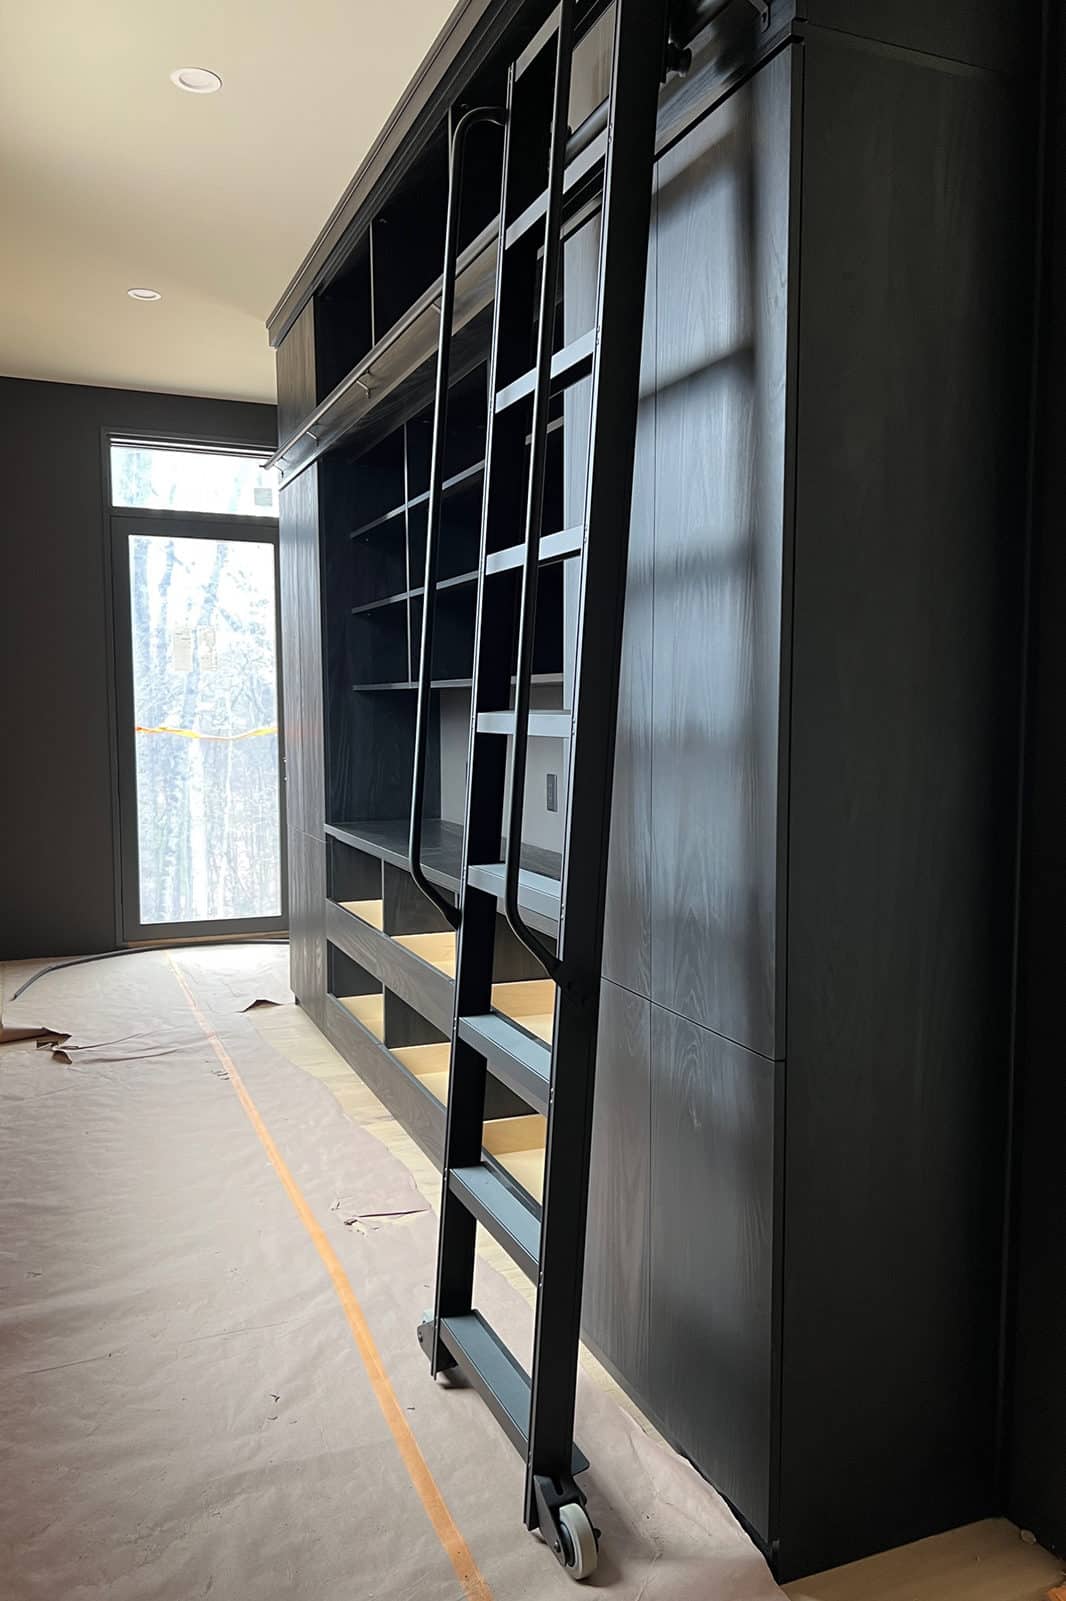
We used California Closets for all the cabinets, the mud room, AND the pantry. I might be most excited about the pantry. It is a total dream. I used them for our current home pantry. I was so happy that the only way to improve on it was to make it a little larger. And to give two points of entry so more than one person can fit (since you know we all want snacks and tea/coffee simultaneously). And ever since I watched Willy Wonka & the Chocolate Factory as a kid and the scene with the candy store and library ladder, I have dreamed of having one in my house. That memory goes deep, folks.
This pantry was the perfect opportunity, and California Closets made my candy man dreams come true.
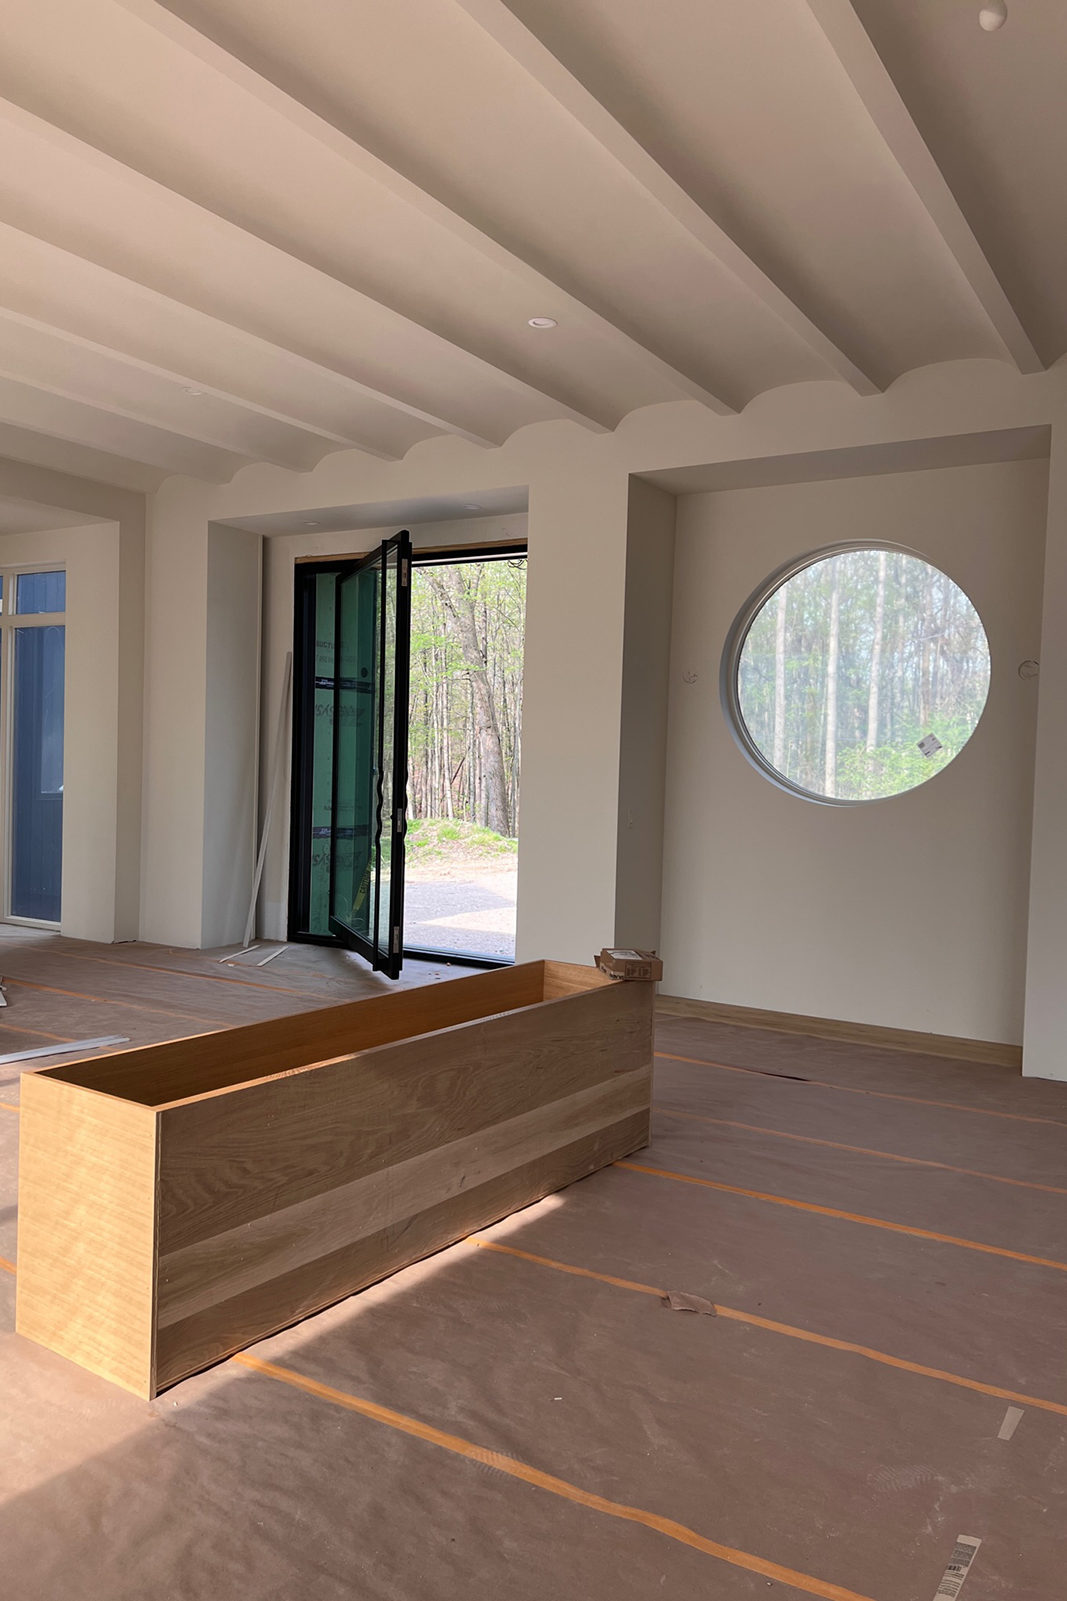
And finally, my favorite part of this house is the doors of commission made by my dad, a.k.a. Pop Pop. I designed the doors pulling inspiration from intricate wood paneling and doors I’ve seen across Europe. I put my inspiration and materials together and sketched different panels. Ultimately, I landed on construction with chamfered edge squares and 8-foot-high solid oak doors. We would use the wood plugs as a design feature. I wanted the doors to feel like they belonged in the home and not be too intricate but with enough detail that would become a beautiful architectural detail. These doors kept pop pop busy all through the winter months.
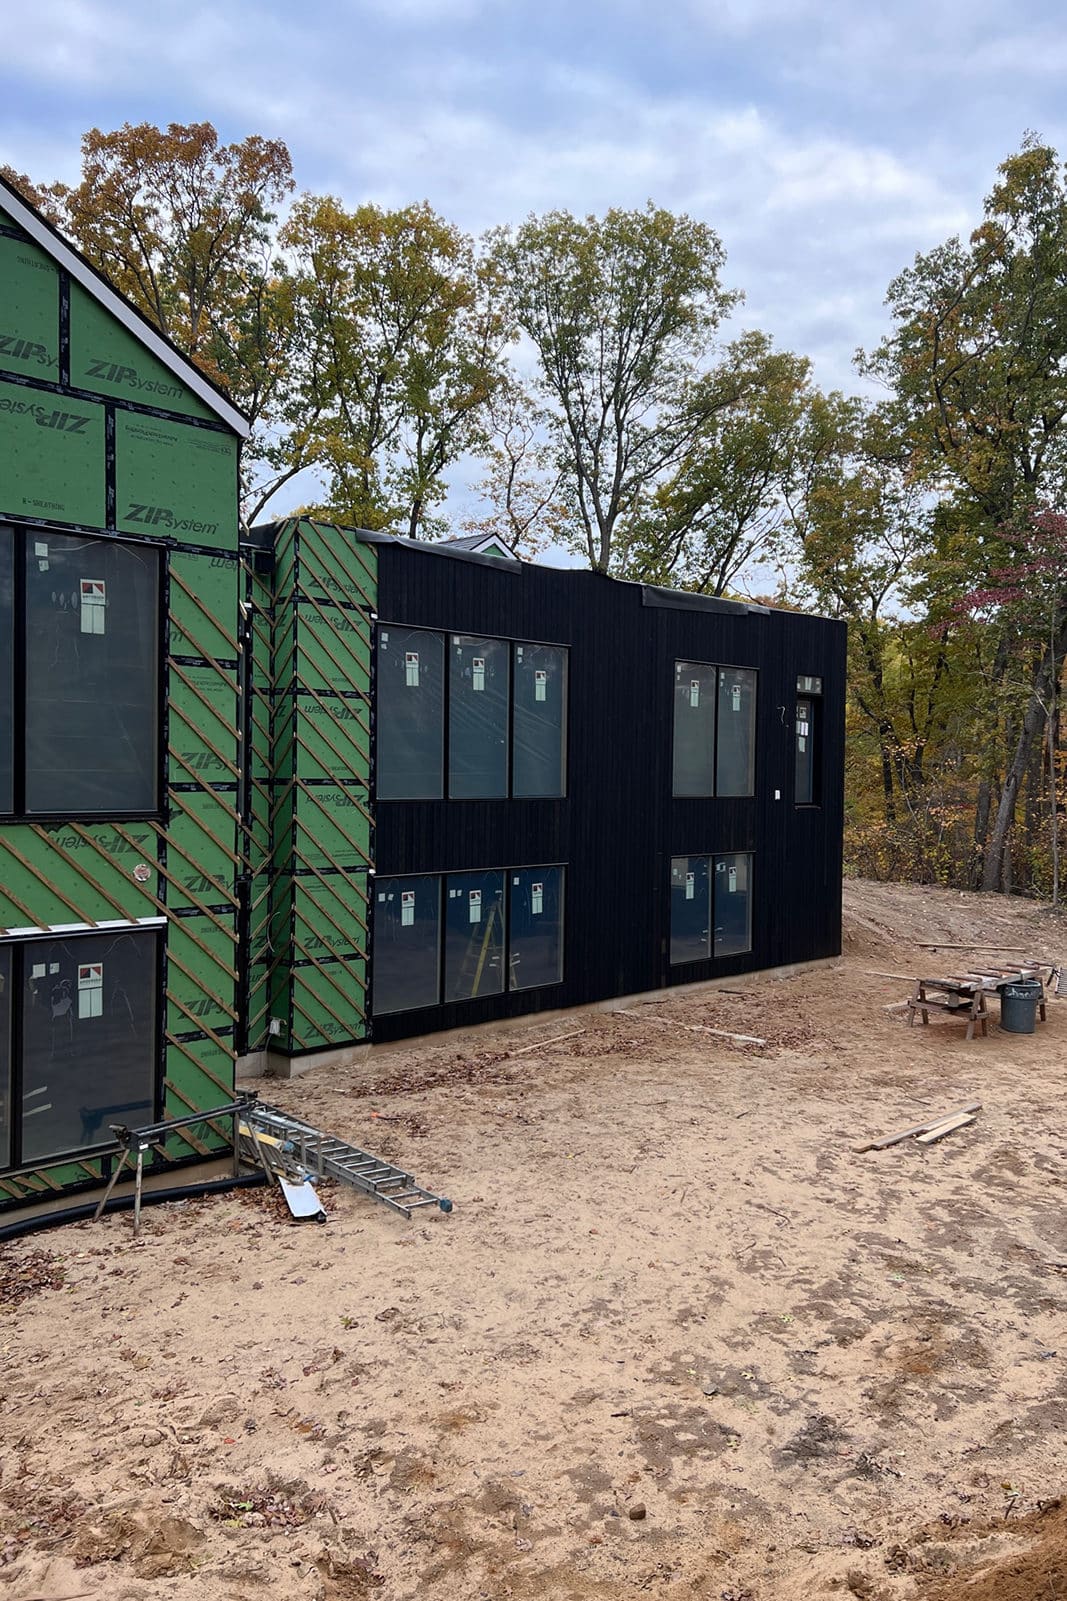
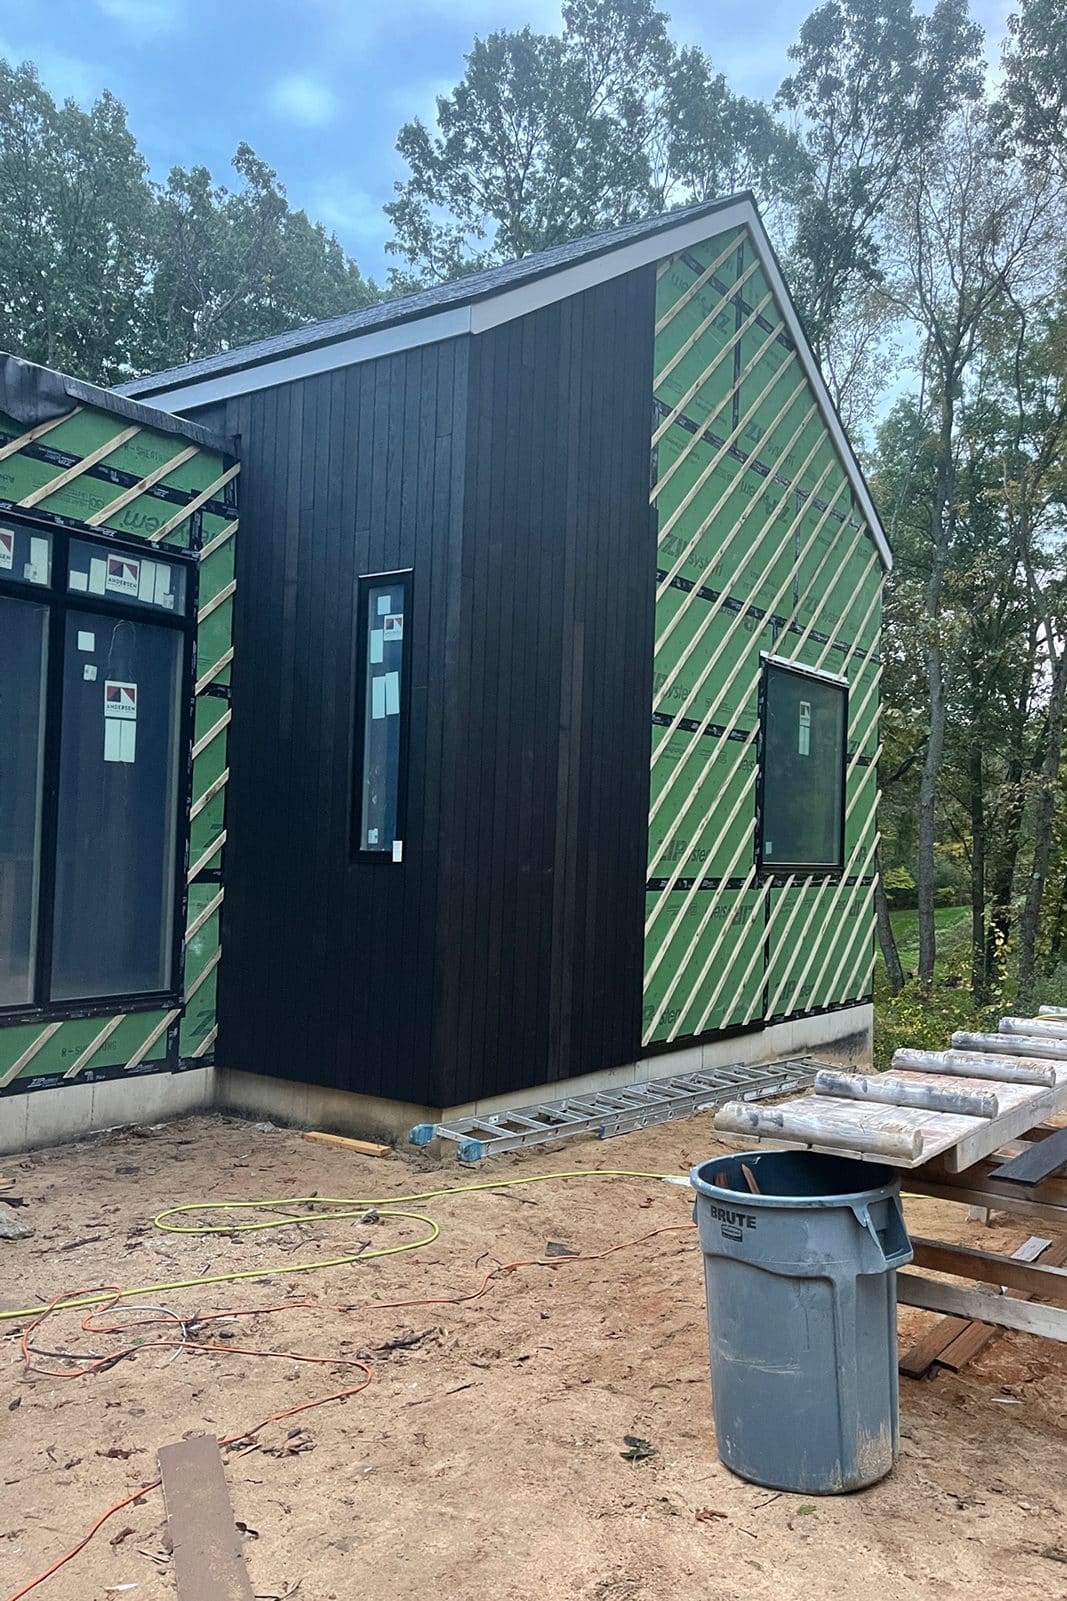
Like the interior, I worked off materials that I love to build the pallet on the exterior. Starting with the Suzuki Van siding from Arborwood siding. It’s been a dream of mine to be able to use it, and when I found it locally, it felt like the perfect opportunity.
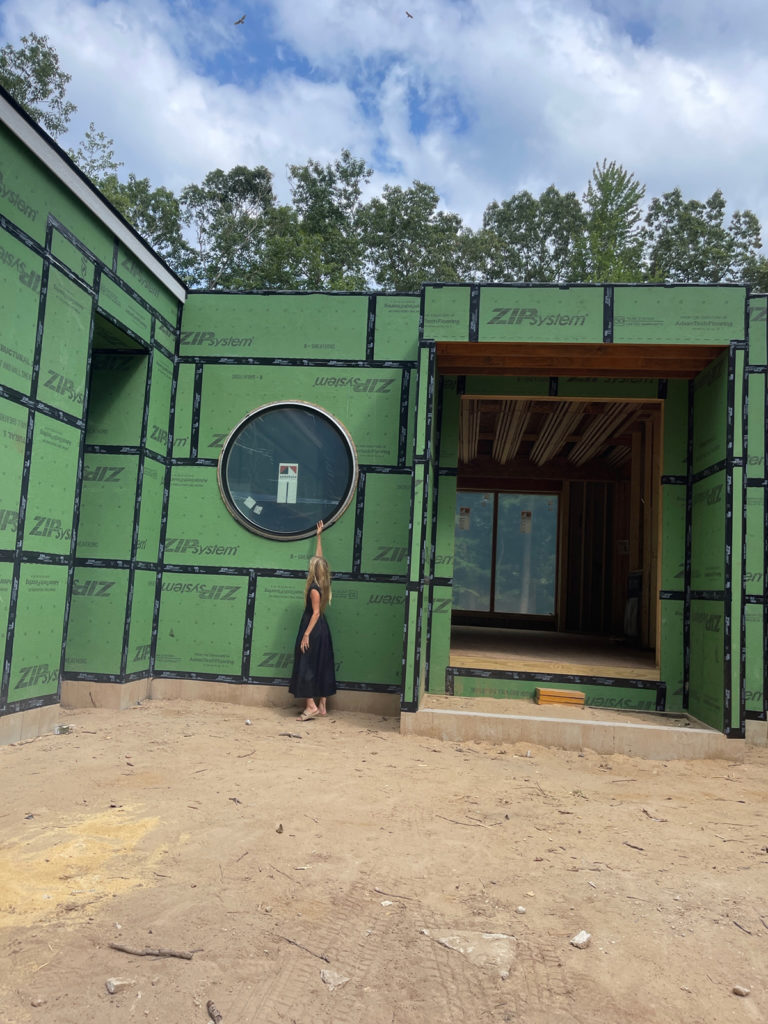
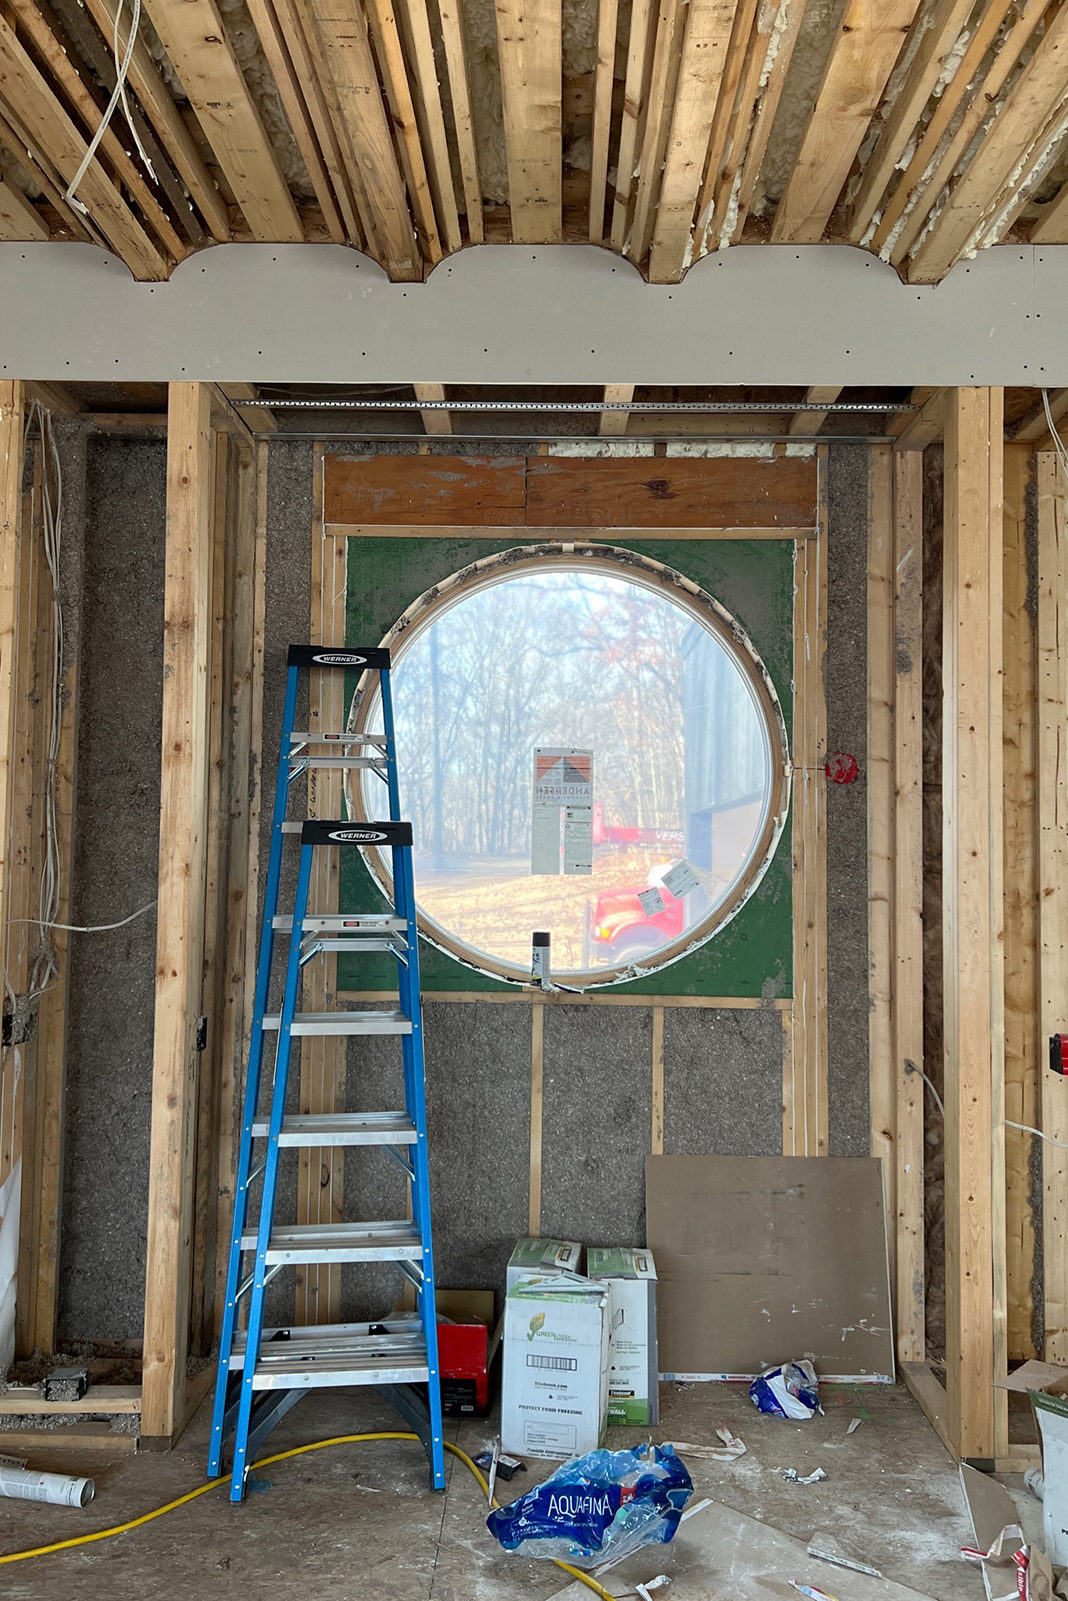
I wanted to create an old-world feel on the exterior even though it’s a very modern exterior, so I used a slate composite from Bravo roof that mimics beautiful slate tile roofs. But it is virtually indestructible and easier on the budget. I knew I wanted to have brick on the exterior but done in some modern way. I searched for different brick types and went to our local brick and stone supplier, but I didn’t find anything that fit the bill. So, instead, I designed my own and turned to my friends at concrete collaborative to see if they could execute the new design. It was a new category for them, so they had to order new machinery and parts, which took a long time to develop. We finally got our brick and are waiting for the mason to install it. I wanted a fluted texture, combining traditional Old world materials with new practices. We will launch it in the spring and will be available to the public.
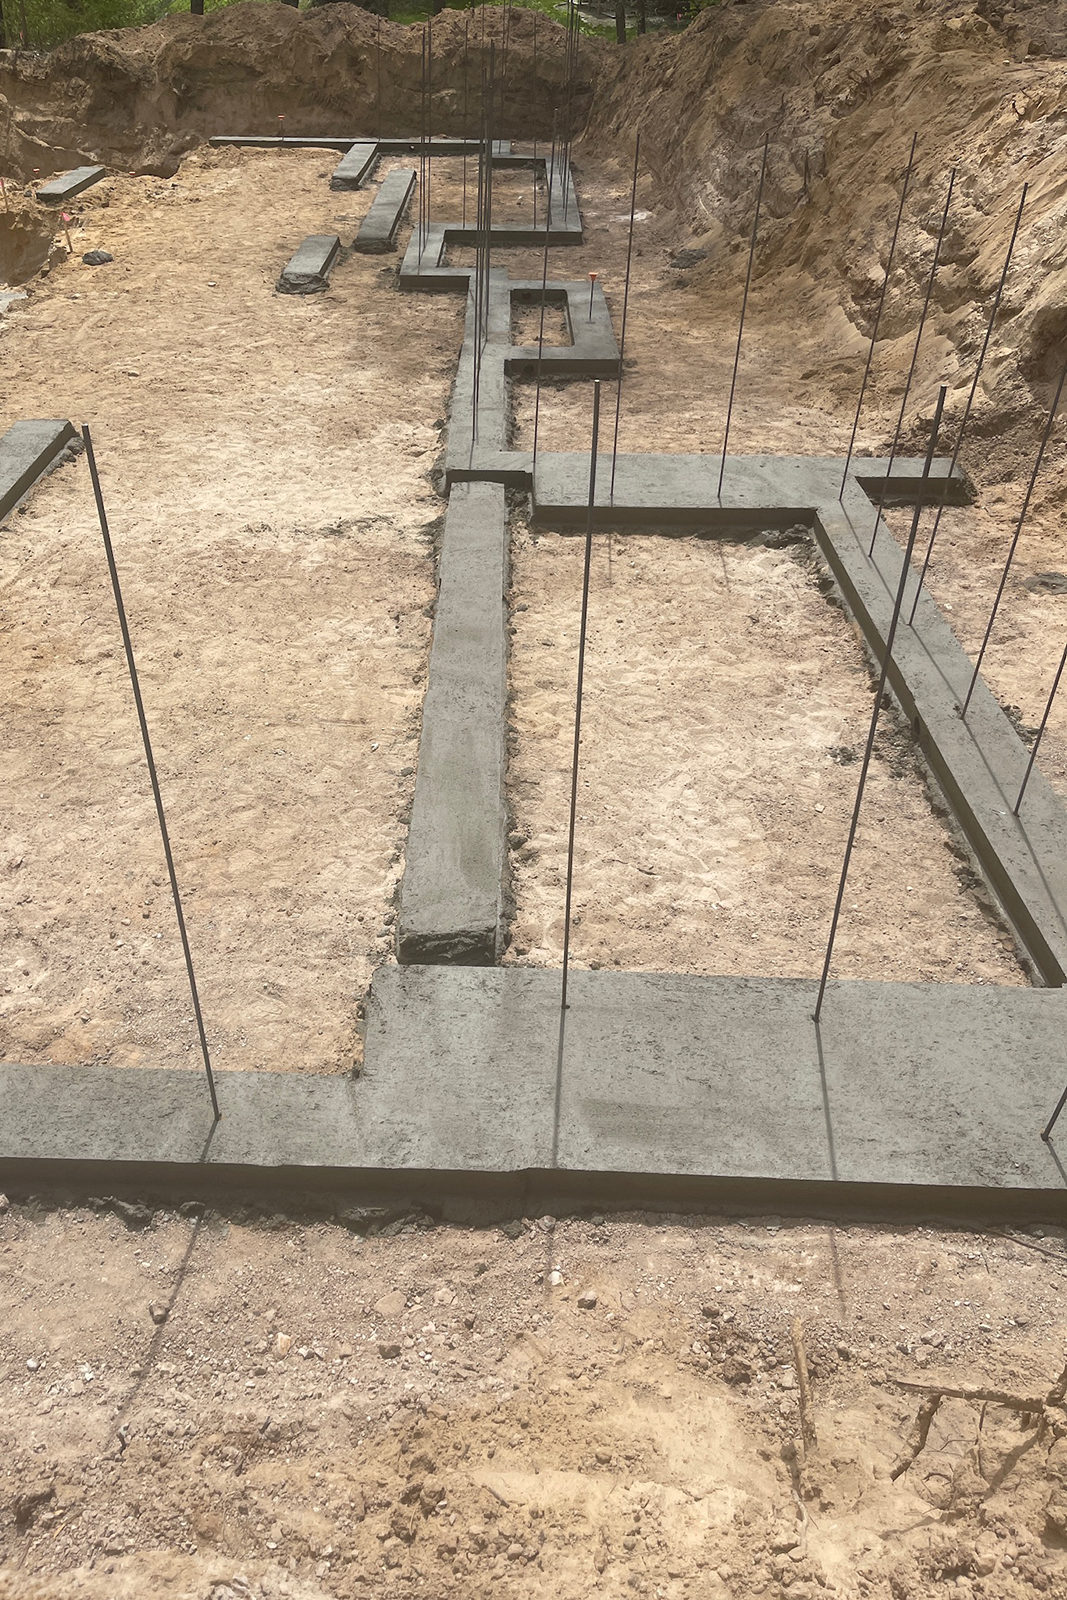
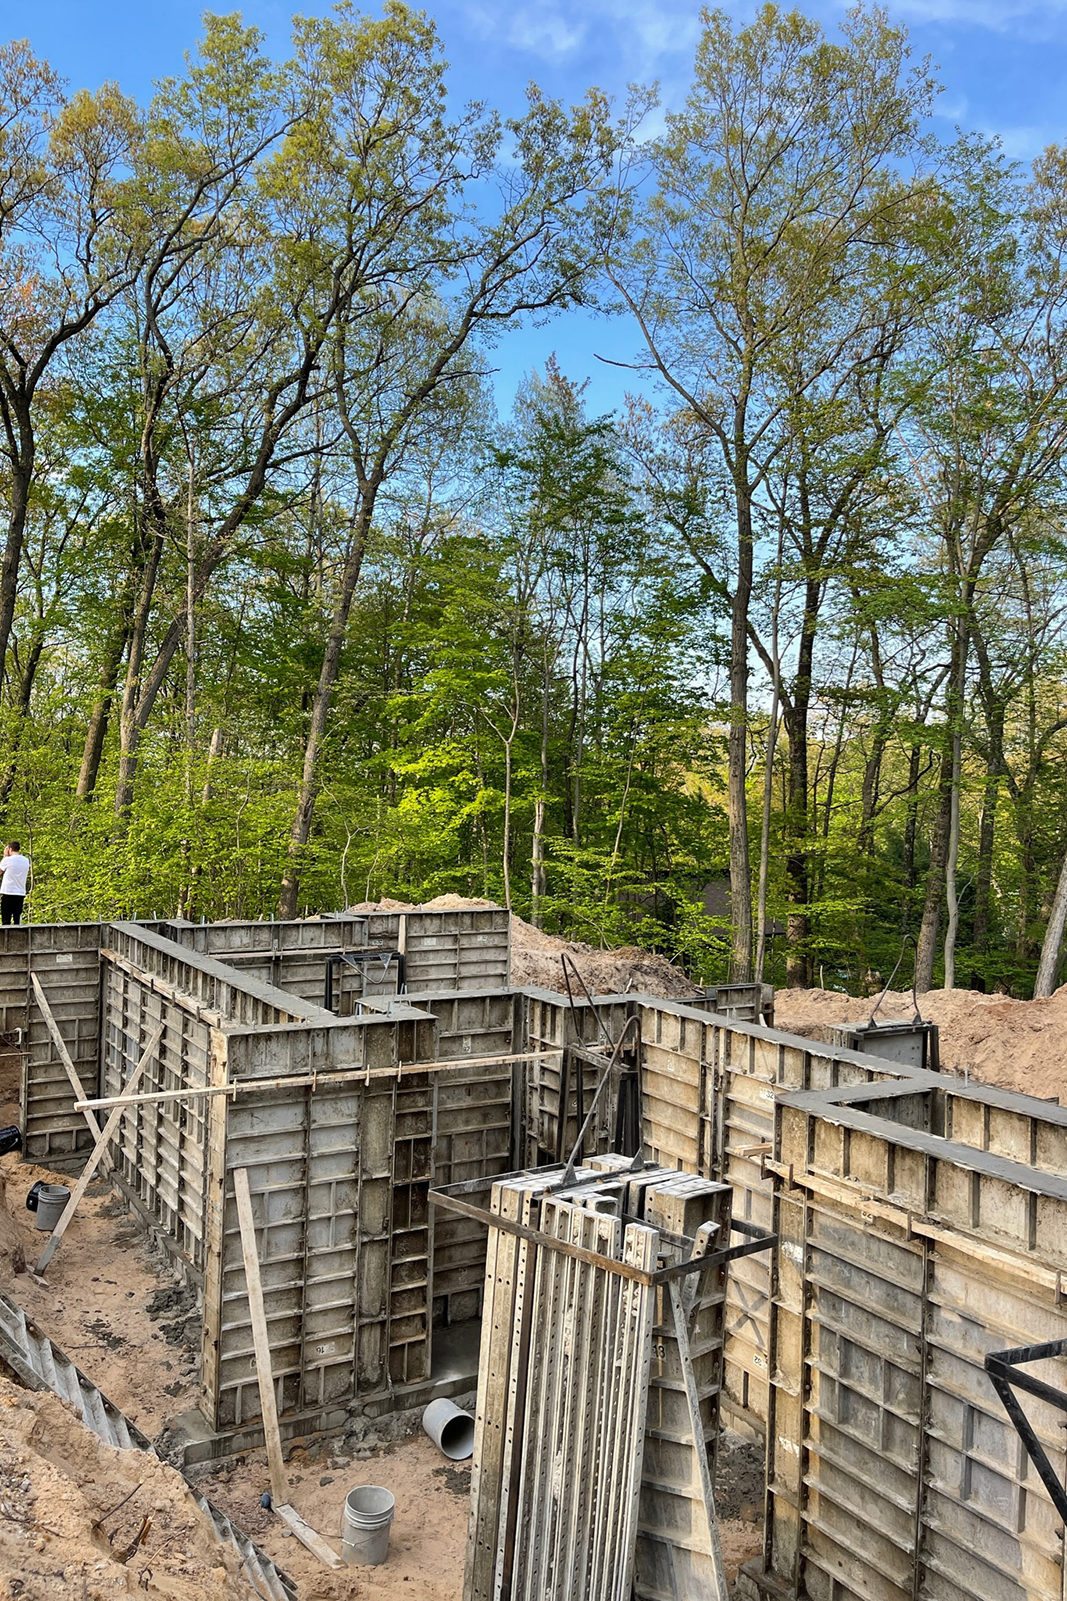
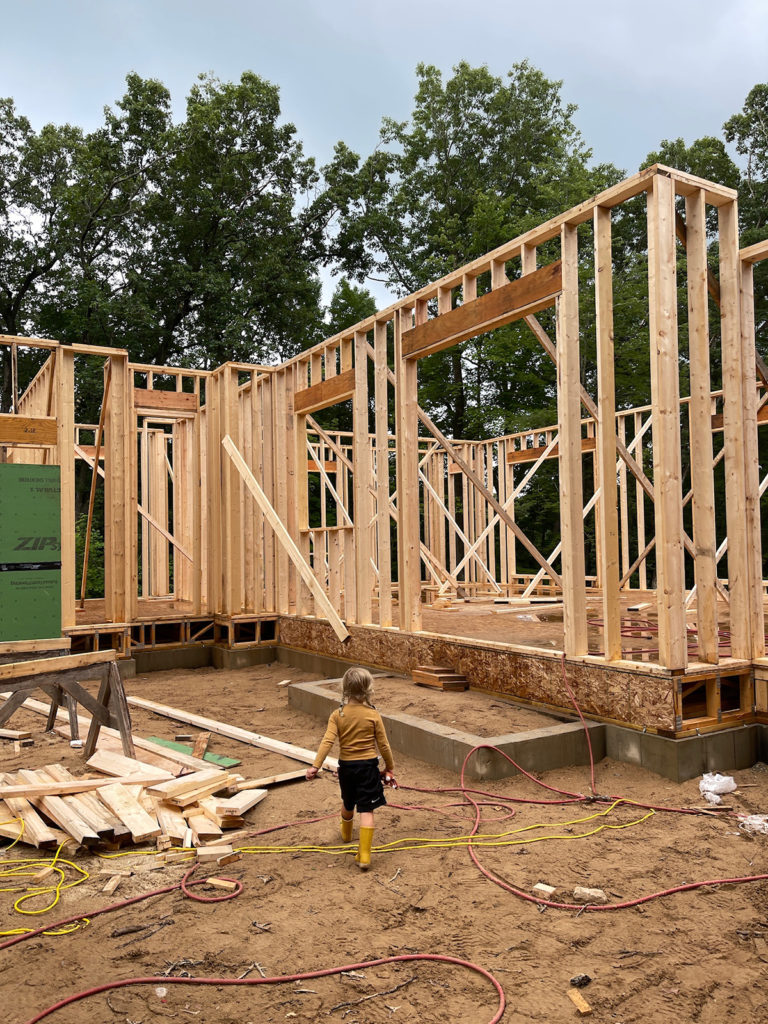
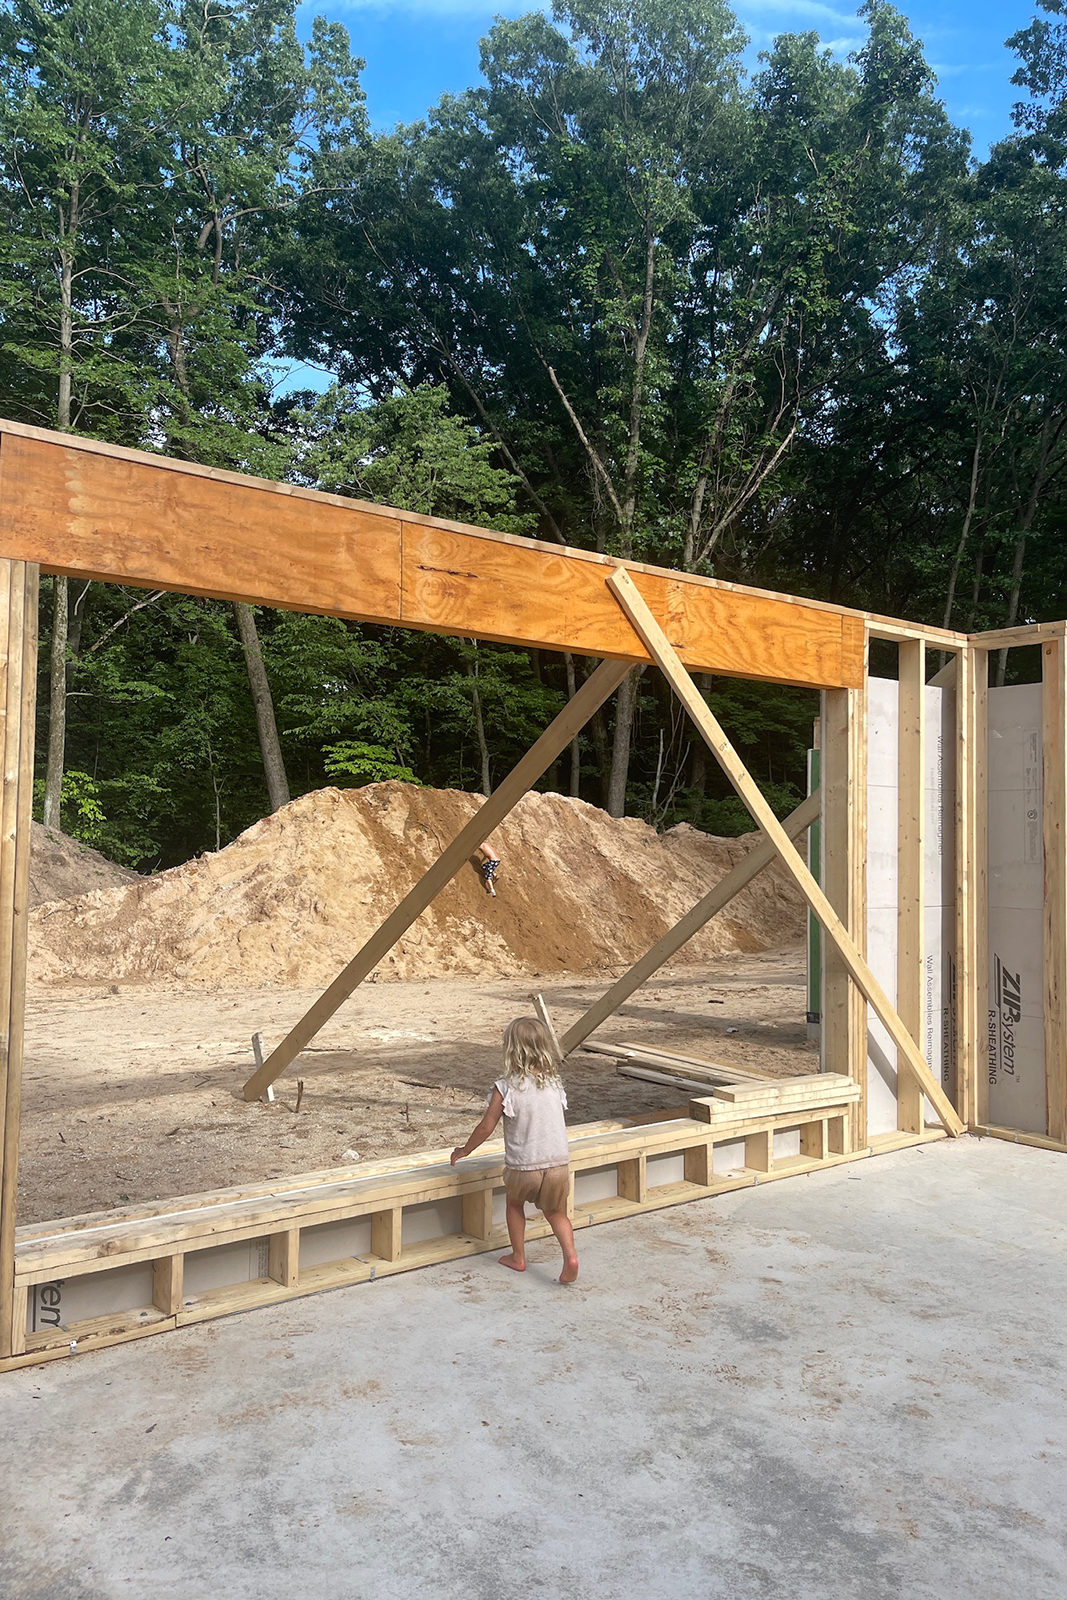
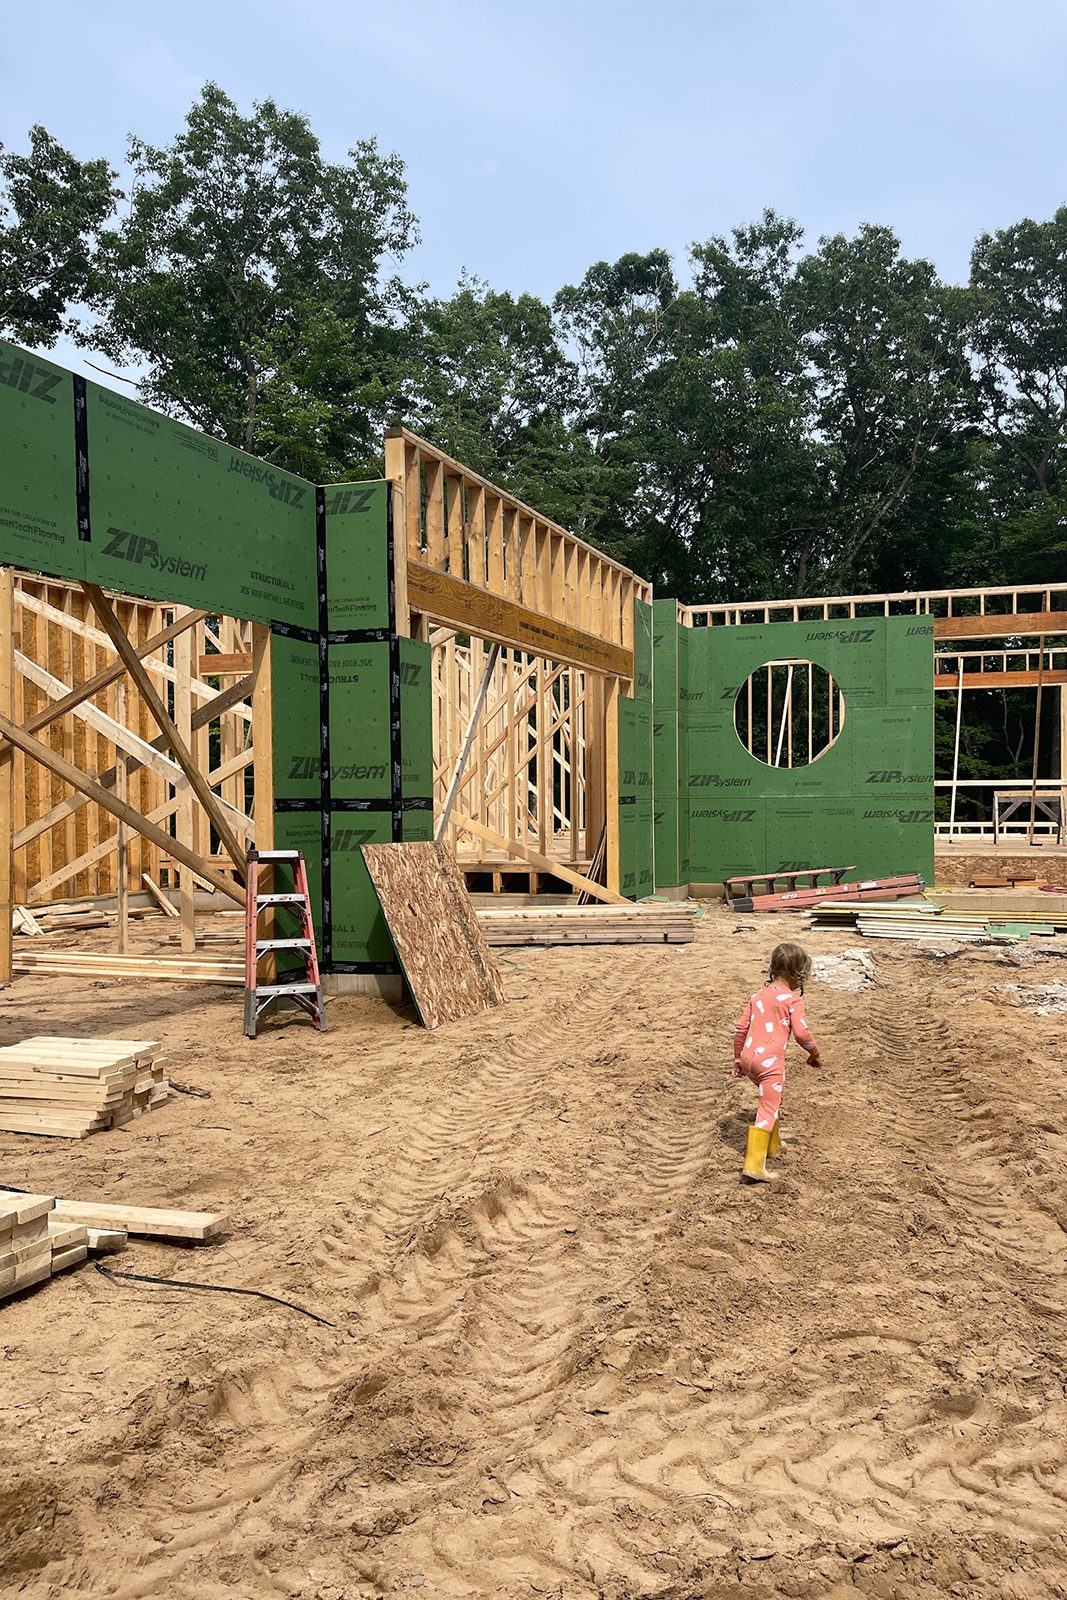
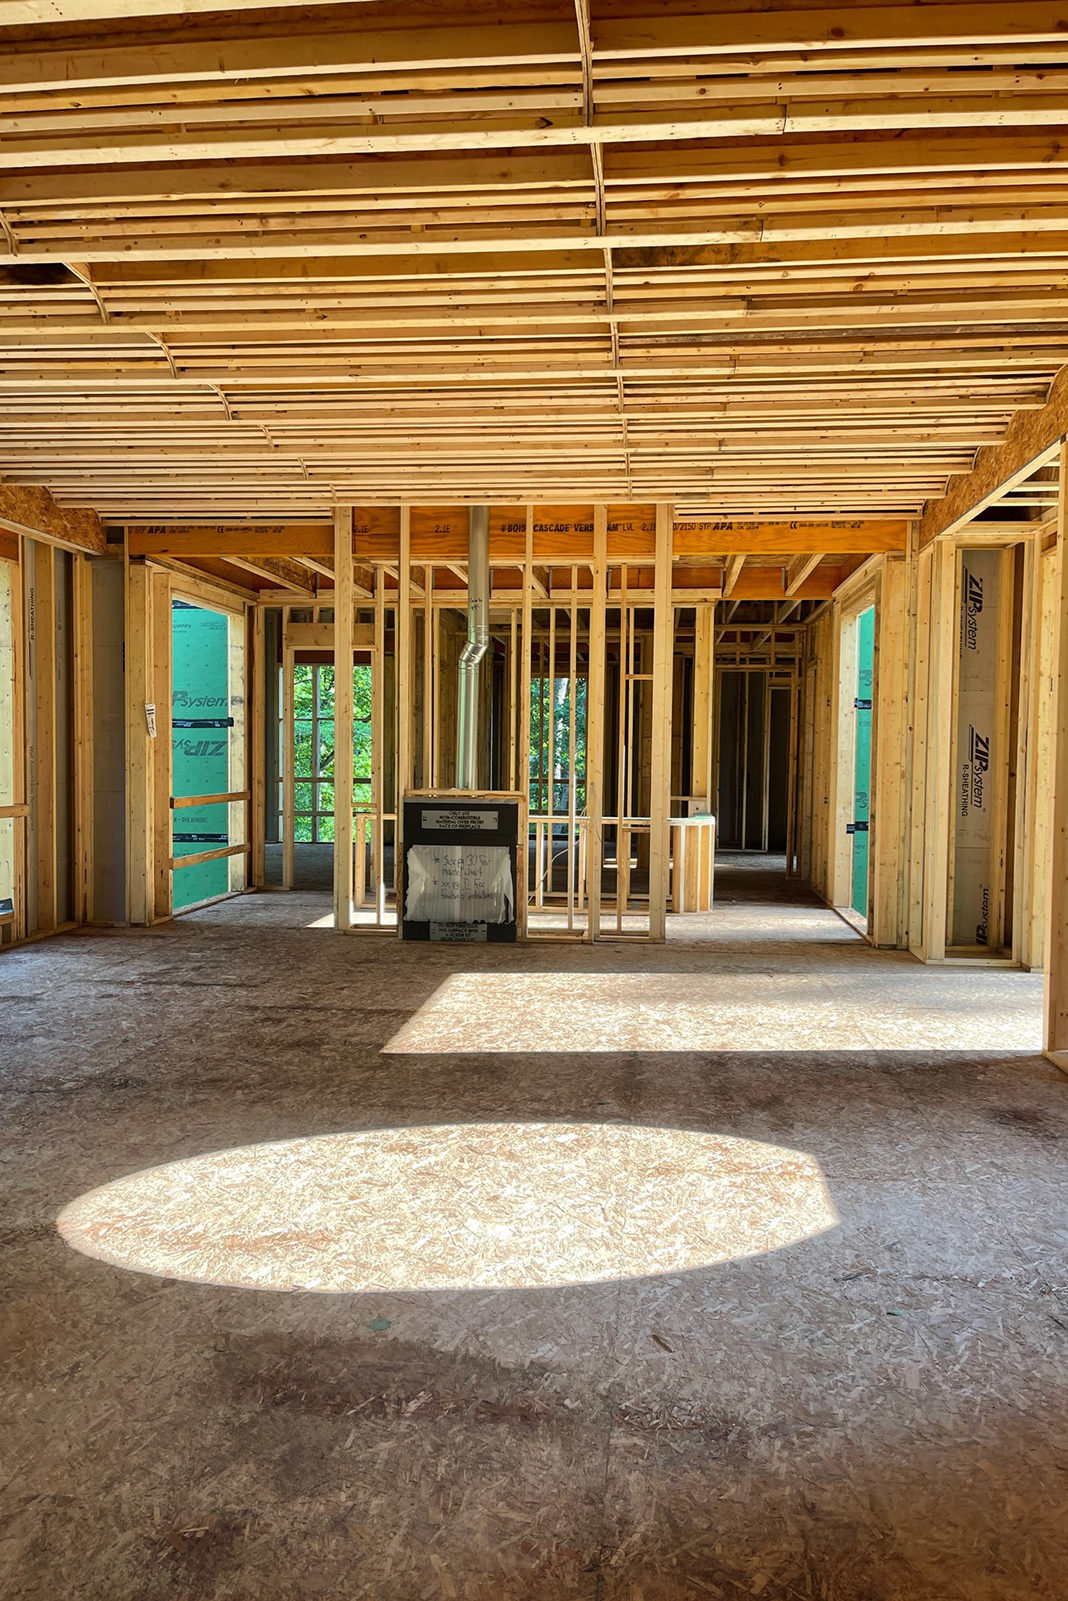
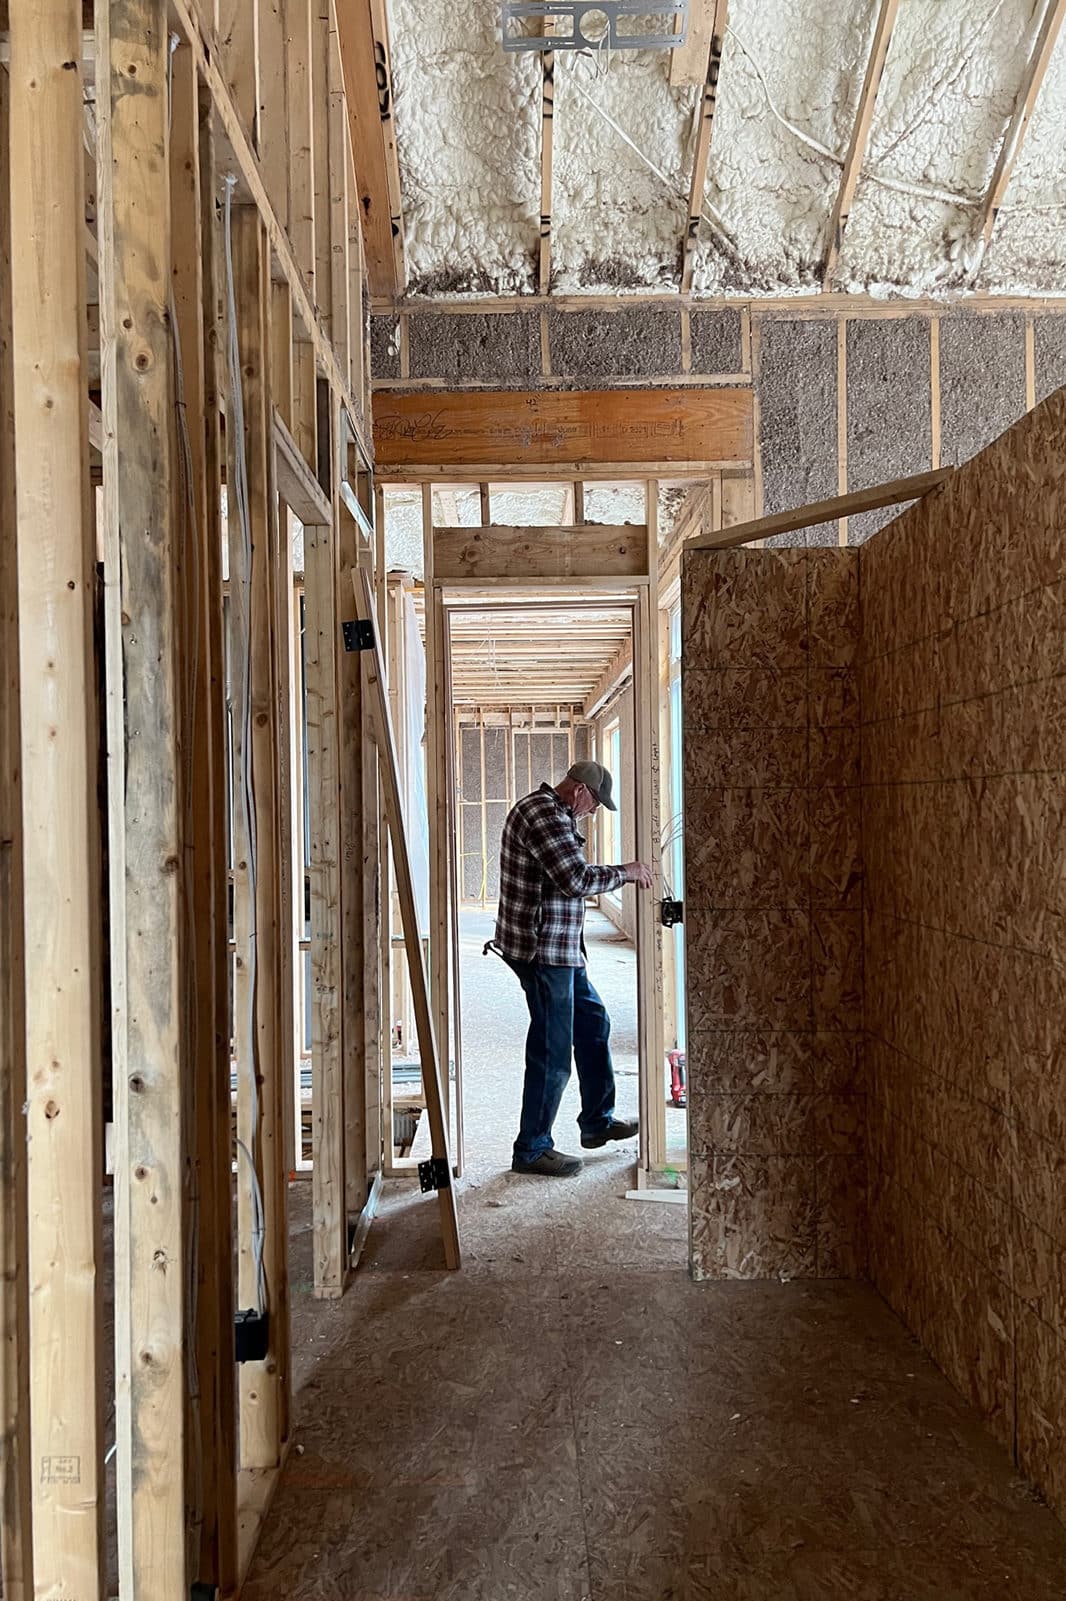
I enjoyed the build process more than I thought until we came to a complete halt. We missed the queue with the Masons, so he’s off on other jobs, and our builder decided to take that cue to close the team off of our job completely. So while we waited in limbo, we finished the kitchen and the living room, but we still don’t have occupancy. We have a ways to go to the finish. If you’ve been following me on Instagram, you’ve seen many updates and stories.
Everything is up-to-date on where we are right now as we wait for the brick. Then they can finish the roof, then we can get occupancy, and then we still have to start on the whole lower level, so stay tuned!
to learn more about the show house go here


Branding and Initial Web Design
Nature
Web Design Production
Jane Reaction
Site Development
Alchemy + Aim
Hello! Your show home is beyond dreamy. Can you share the ivory paint you chose for the kitchen/kitchen cabinets? Thank you in advance!
[…] designers and architect. Like this stunning kitchen in Athena Calderone’s own home, or Sarah Sherman Samuel’s Showhouse Kitchen, the personal kitchen of Melissa from Oho Interiors, or this take on Ikea Kitchen’s from […]