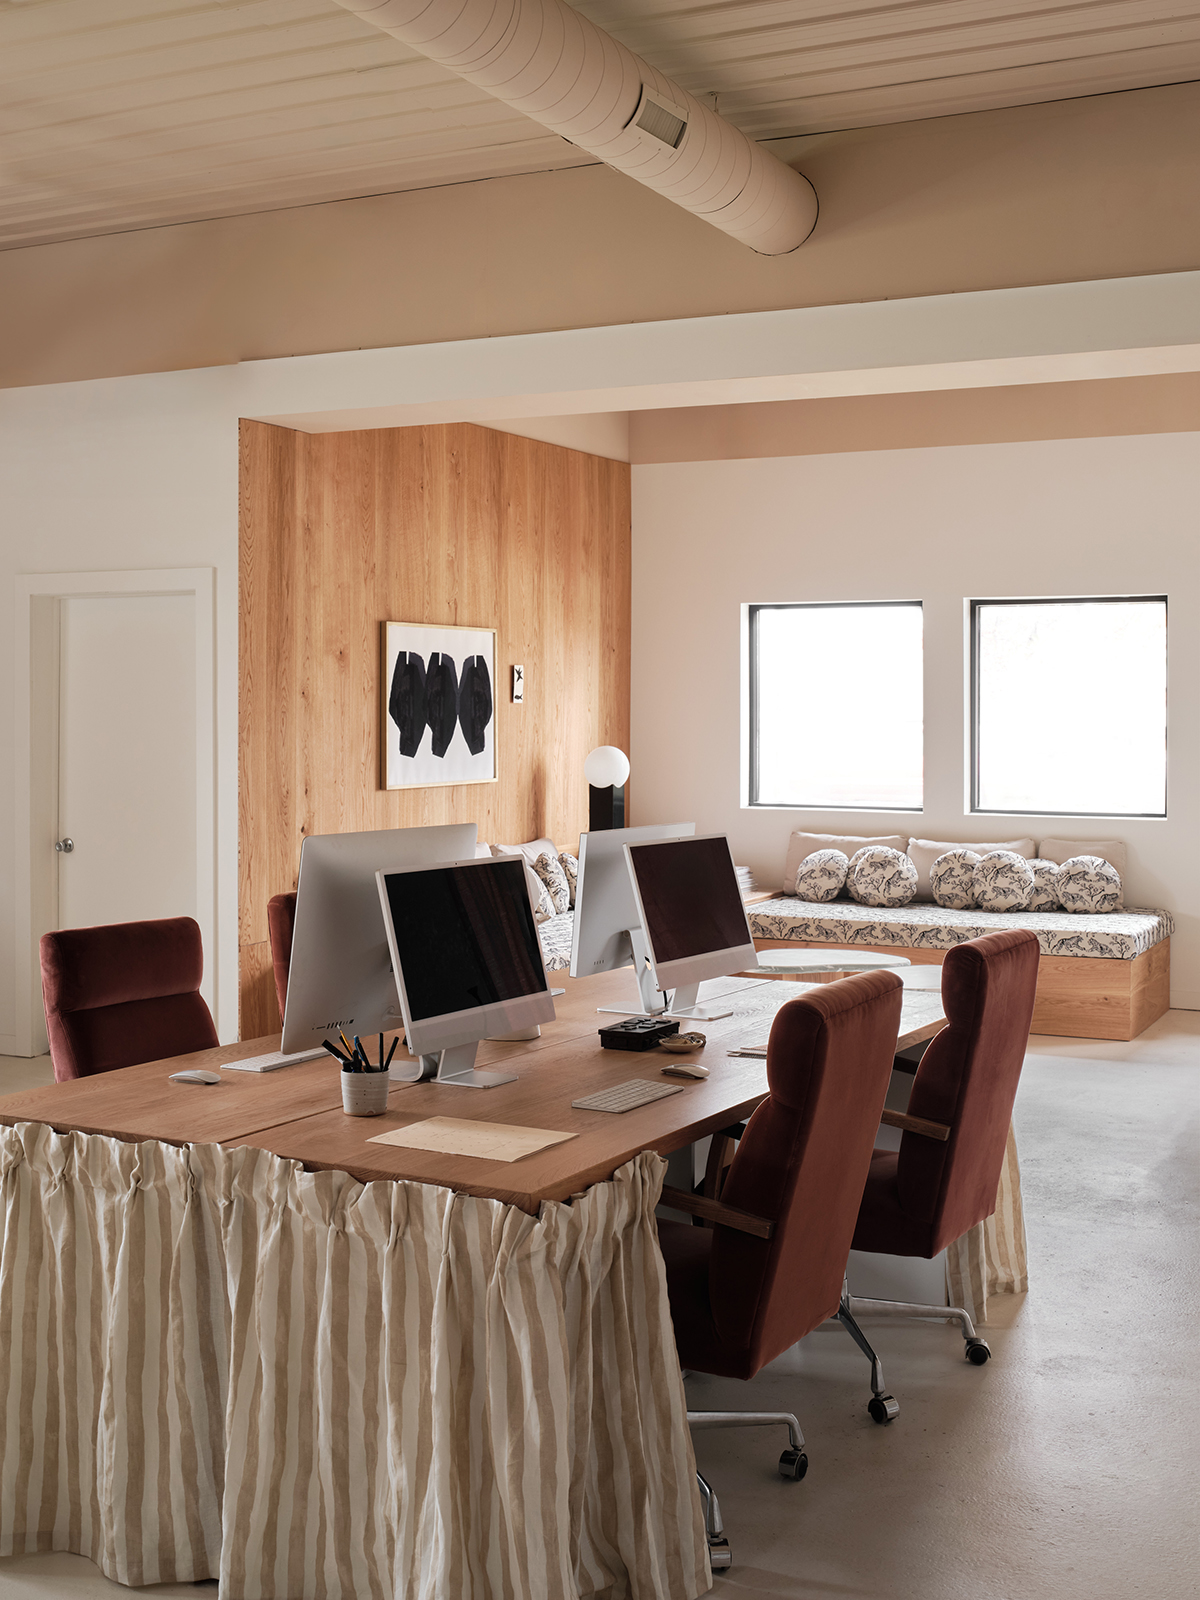
 I am embarrassingly still not quite settled in the new studio (although it is doing better then the house right now), but these shelves I put up are helping A TON. I needed some organization in my life more than I can express (If you are remembering the corners of the house that I kind of had finished, like the living room and the entry way… erase them from your mind because they are now almost empty rooms with an inch thick of construction dust!).
Anyway… the studio is now my happy place 🙂 You may notice I also painted the floors again. Thanks to my obsession with seeing other peoples workspaces, I’ve seen so many all white studios and I wanted to switch it up a little, so I went for this floor paint called georgia peach (I had them tint it 20% lighter). It’s bright and light like the white on white spaces I still love, but brings a subtle bit of color in.
Still to do in the studio is: Replace the light fixture, install skylights, find a place for a mood/layout board, and decide what to hang over that love seat.
Shelf DIY instructions after the jump…
 Ok I am not sure if this qualifies as a DIY because it is so simple, but I thought I would let you know the exact sources of the things I used to make these shelves, in case you’d like to replicate.
Supplies needed:
Gold spray paint (this is my favorite gold spray paint. Not too shiny, not too matte, and it makes the brackets almost look like brass)
Ikea shelf brackets
Cabinet Screws (these may be over kill but I had them on hand and bonus!.. they are gold already)
Wood (I used African Mahogany which I bought here)
First, I spray painted the brackets. Then I used a stud finder to, well, find a stud (genius over here ;). Then I measured out where I wanted the brackets, held a bracket up and marked with a pencil where to drill in the screws. I drilled the screws in until the head was about an inch out of the wall and then put the bracket onto the screws and tightened them the rest of the way. Put the wood on, screw those in (with shorter screws) and done! If you are getting raw wood make sure to sand and seal the boards with some sort of polyurethane. I had sealed these boards previously since they came from our old house.
For more DIY’s look here.
To see the studio before look here.
Images by Sarah Sherman Samuel

great idea on painting the floors peach! i’m also fond of the white look, but i’m glad you decided to switch it up a bit.
no need to feel embarrassed about taking your time to settle in — it’s a process best not to be rushed!
xx, valerie @ lily on fillmore
Lovely! What an easy but useful diy! I also love that you painted the floor; sunny + warm color choice!
Just love those brackets with natural wood shelves! I also adore white, but feel a room needs some contrast and depth. The peach flooring feels subtle and natural. Great color choice!
[…] love these DIY shelves. Super simple and […]
[…] diy instructions : smitten studio […]
Your studio is looking fantastic! Love the wood you chose for your shelves….so pretty!
Looks AWESOME!! Spray painting those brackets the was the perfect touch to elevate this project!! Well done, S 🙂
[…] // TWO Gorgeous styling and hand-crafted products form Place de Bleu // THREE Cute cafe in New York // FOUR Sarah’s beautiful studio and diy shelves – I love all of her products for a sunny […]
[…] *Easy and inexpensive DIY “brass” and wood shelves. […]
Such simple shelves, but they look awesome! I do like the peach color a bit more than the triangles for your floor… Warms up the space some!
such simple and effective shelves!! love them 🙂
julibeauty.blogspot.com
[…] Smitten Studio […]
[…] wood shelving and spray painted IKEA brackets led to these DIY shelves at Smitten Studio, fantastic […]
THIS IS RAD!
[…] Simple coat rack via Almost Makes Perfect 2. Beautiful Ikea Hack shelving via Smitten Studio 3. Make these fake marble gemstones! 4. A simple bench with metal base 5. Copper […]
What is the width of your shelves
[…] via Houzz; Jorunn Tharaldsen for Klikk; Elle Decoration; Line Klein; Kitka; Michael Esserts; Smitten Studio; Hus and Hem; Jill Devries for A Beautiful Mess; Milk Magazine; Elle Decor; Greg Cox for Rue […]
[…] ..by installing wood shelves. The introduction of organic textures will infuse warmth into a stark room. I love the mid century design of these ones. {Image via Smitten Studio} […]
[…] // Smitten Studio shares some simple DIY shelves she made for her studio! I love how they turned […]
[…] beautiful studio to dream of designing […]
[…] via Houzz; Jorunn Tharaldsen for Klikk; Elle Decoration; Line Klein; Kitka; Michael Esserts; Smitten Studio; Hus and Hem; Jill Devries for A Beautiful Mess; Milk Magazine; Elle Decor; Greg Cox for Rue […]
[…] Photo’s by: 1.Tara Pierce 2. Tara Pierce 3. Sarah Sherman Samuel 4. Henriette Amlie K 5. All Over Press 6. Tina Frey designs 7. IKEA closet PS collection Raw […]
[…] (source) […]
Nice setup you have there Sarah!